


Call of Duty: Black Ops Cold War is now available across a total of five platform and is arguably one of the very best instalments in the franchise.
The latest chapter in the storied Black Ops series sees players making a return to the Cold War in a brand-new campaign developed by Raven Software.
After managing to secure a Soviet mainframe, the elite group of operatives appear to be hot on the heels of Perseus, a Soviet spy believed to be infiltrating US intelligence.
After Bell was selected to infiltrate the KGB headquarters, much to the annoyance of Hudson, you prepare to breach the Soviet building where you encounter a familiar face.
In this guide, find a comprehensive walkthrough of the Desperate Measures mission along with some handy tips to help you complete it on Veteran.
Read More: Die Maschine: How To Open All Dark Aether Portals
Desperate Measures Walkthrough
You will begin the mission in control of US undercover informant Belikov. He will receive a phone call from Adler. In order for the conversation to continue, create secure connection. Adler will state that his team is “close” and will ask you for a status update. There is a choice of two text options so choose either one.
All the way back in the “Brick in the Wall” mission, deciding to free Richter means that he will also be inside the Lubyanka building. As a final request, Adler will ask you to take him out as you go about your business.
Attend the Briefing

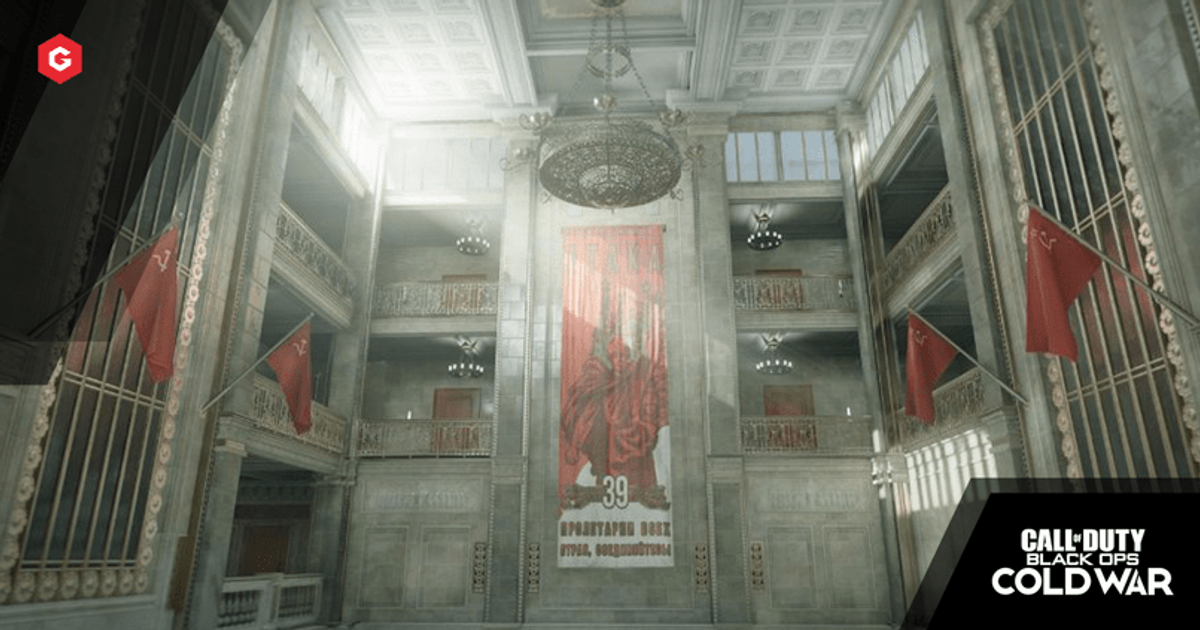
As the phone call ends, you’ll be asked to attend a briefing with Soviet leader Mikhail Gorbachev. Make your way from the desk and into the hallway. Make a left turn and head into the grand hallway.
Head up the stairs on the left of the building and move towards the marked doorway. The guard standing at the door will open it, so make your way into the room and sit beside Gorbachev.
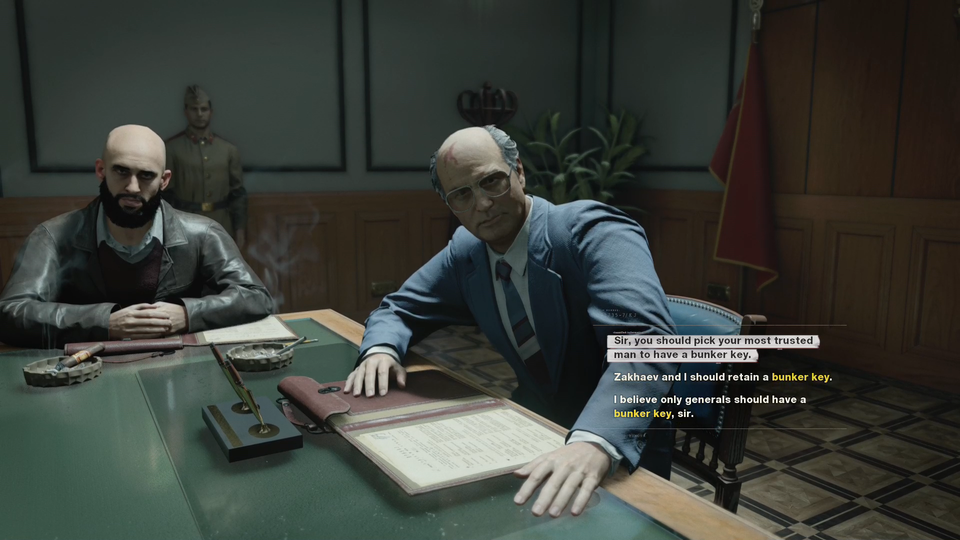
Someone at the table will ask you a question about a potential mole in the KGB. You’ll have the choice of three dialogue options. Choose either of the three as it has minimal impact on the outcome of the mission.
The next question asked will be about who should acquire access to the bunker key. Another three dialogue options will appear. It doesn’t matter which you select as the only person that will keep hold of a bunker key is General Charkov.
Read More: Die Maschine: How To Complete The Hand Easter Egg
Acquire the Key
After being dismissed from the briefing, you can take a look around the building to obtain intel. Before you begin searching, open the map and mark the location of the Camera Room.
TIP: Use the map as often as possible as it is the key to navigate the building as quickly as possible.
Move down the stairs and make a right turn into the Camera Room. Shut the door behind you then eliminate the guard. To avoid any attention, pick up the corpse and open the gate located on your left. Place the body in the darkest corner of the room. Now pull the lever on the right to disable all security cameras in the building.
The piece of evidence for this level can be found in the Server Room. Head out of the Camera Room and walk across the main room into the hallway which contains an elevator.
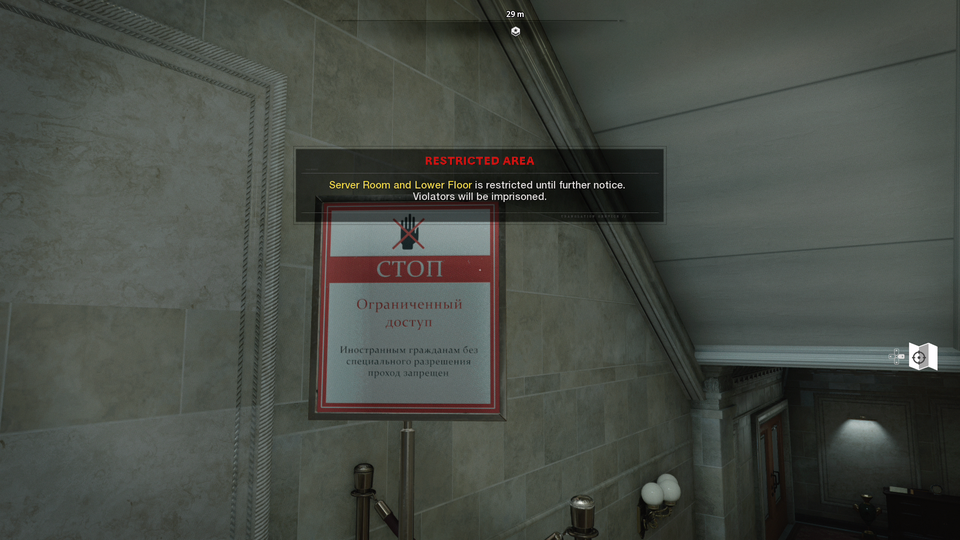
Open the door at the end of the hallway then head down the stairs. You’ll find a sign which states that the lower floor and Server Room are off limits…
Take a right when you reach the bottom of the stairs and on the right will be an air duct. Climb inside and follow the duct round to the left. When you reach the end of the air duct, keep an eye out for the guards on patrol and open the gate to enter the office of the Server Room.
Evidence: On the set of desks in the middle of the room, you will find the final piece of evidence needed to begin Operation Red Circus.
Stay in the area to finish the Frame Charkov objective or you can head back up to the ground floor to finish any ongoing Optional Objectives.
Loose Ends Optional Objective
Open the map and mark the Recruitment Office which is located just above the Camera Room. Make your way out of the Camera Room, take a right turn and walk all the way to the end of the hallway. When you’re there, make another right turn.
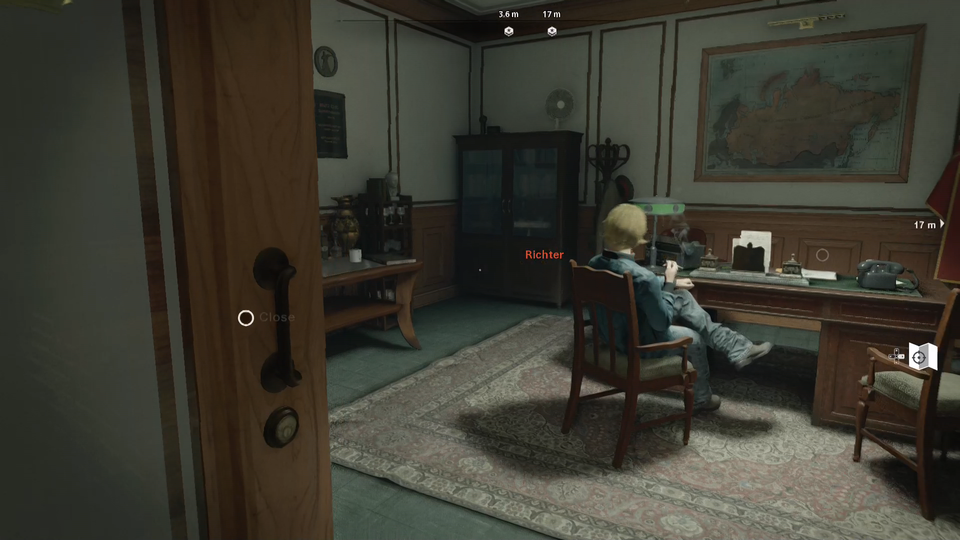
Before approaching the door of the Recruitment Office, make sure there are no guards watching you. Pick the lock and head inside to search for Richter.
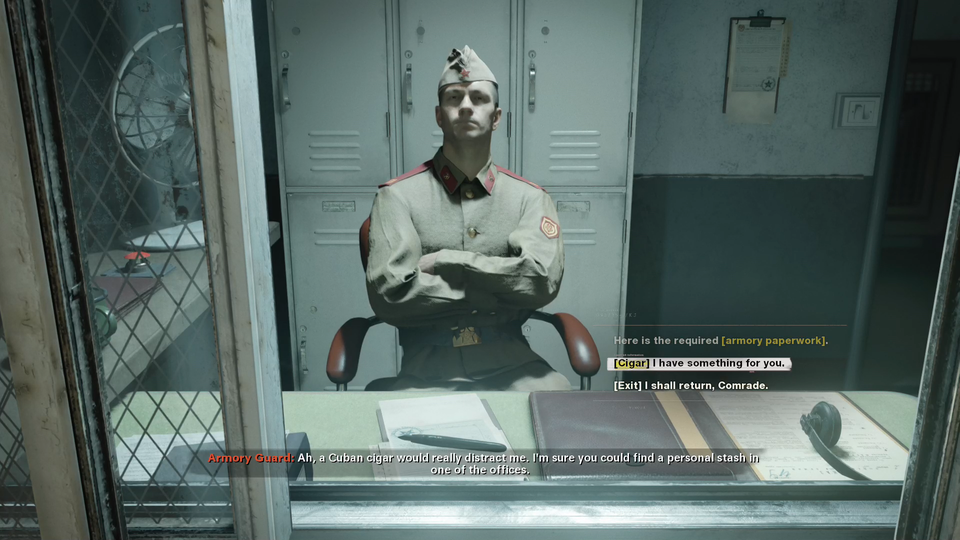
TIP: The table on the left of the doorway will have a cigar on it. Pick one up to activate a “Bribe” option for one of the guards later on in the mission.
Sneak up behind him to choke him to death to complete Adler’s request. Move the body behind the desk, open the door and head back into the hallway. Don’t forget to close the door to prevent any suspicions being drawn.
Acquire A Bunker Key
There are a total of four opportunities to acquire the coveted bunker key.
- Reprogram a Keycard
- Poison Charkov
- Persuade Prisoner
- Frame Charkov
Read More: Black Ops Cold War: No Recoil AK47 Attachments - This Setup Is BROKEN!
How To Reprogram A Keycard
This opportunity is perfect to do just after you’ve been into the Recruitment Office. Head to the right and walk to the end of the hallway.
Talk to Rebikov at the Armoury Check-In to start negotiations. Select every single “Persuade” option until he mentions the cigars. Offer him the cigar you picked up earlier and he will open the Armoury for you. Head inside, make your way to the back of the Armoury, and pick up a blank key from the drawer.
Advance back into the hallway and enter the first door on the left, the Administration Room. Shut the door behind you and wait for the guard to move to the right of the room. Pick the lock on the door and creep behind the guard to knock him out cold. Hide him in the cupboard in the corner and open the unlocked door which contains the computer you need to reprogram the card.
Copy the key with the computer and exit the room the way you entered.
Head back into the main room, walk past your office through the metal detectors, then make a right turn. Walk a short distance and head left to speak to the guard at the checkpoint. Now armed with a key, he will let you into the lower level of the building.
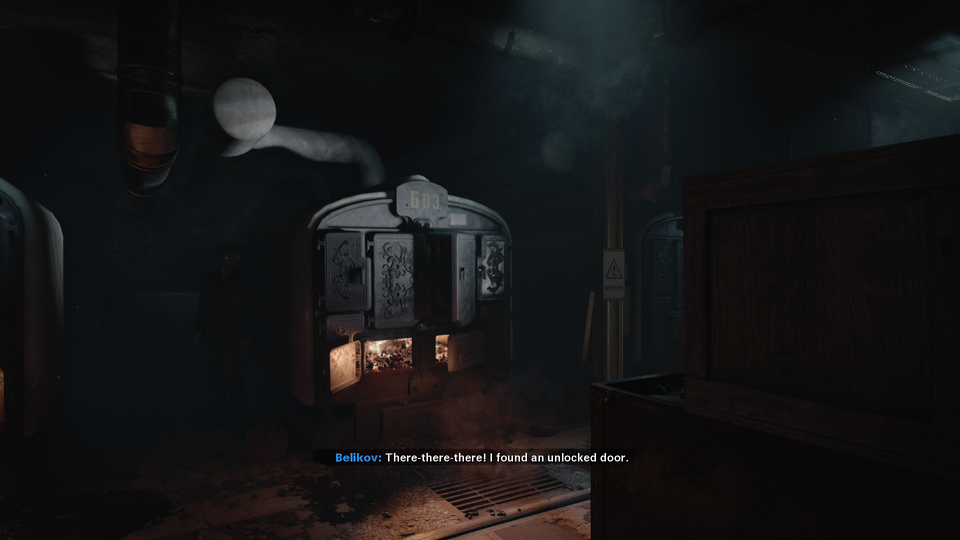
Head down the stairs to the bottom of the floor and take the first left. Move through the hallway and enter the Furnace Room. Radio for a security guard to meet you inside there. Wait for the gate to open and you’ll see Adler and Bell arrive. At this point, you’ll take control of Bell.
Read More: Call of Duty: Black Ops Cold War Campaign: Lubyanka Briefing Mission Walkthrough Veteran Difficulty
Find Uniforms
Now back in control of Bell, head out of the Furnace Room and stay hidden behind the crates on the right.
Wait for Belikov to lead the security guards past you and choke them out to grab their uniforms. Head down the stairs and walk along the hallway towards the main room. When you’ve reached the room, take a right and move to the end of the hall past the security checkpoints.
Attempt to open the door on the left to bypass the security. A guard will stop you. Answer that you report to Sobol but that won’t be enough to make you way past the security. Head back to the checkpoint, wait for Adler to pass through, then enter.
With the belongings in the bag, head to the main and follow Adler to the right. Wait for the elevator and step inside, using the key to access the ground floor. At the very last second, another person will enter the elevator. When he begins questioning, tell him it’s your first day on the job and that you report to Sobol to complete a challenge. Once the person leaves the elevator, you change into the combat gear.
Read More: Black Ops Cold War: Multiplayer Dark Ops Challenge Guide, All Rewards, And How To Complete Them
Retrieve Intel
Now in the lower level of the building, take out the guards in the first room. Once you’ve taken care of them, move through the hall on the right and eliminate the guards inside.
TIP: Keep your eyes peeled on reinforcements appearing on the upper levels as you progress.
Keep working your way through each of the rooms and continue straight ahead. When you’ve reached the far side, Adler will call you over to a hatch to the ventilation system. Place the gas inside the hatch.
With the gas now inside, follow Adler through the tunnel and take out any guards you come across. Once you’ve exited the tunnel, it opens to the right into a large room. Use the barrels as cover and eliminate any soldiers trying to halt your progress through the building.
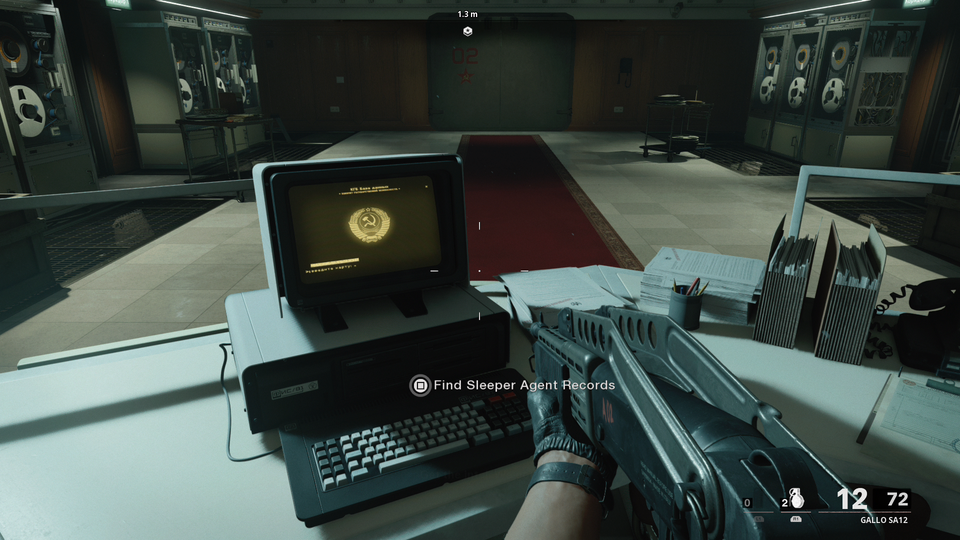
Once all the guards are dead, head to the door of the bunker and use the key card on the terminal to open the door.
TIP: On the right side of the room there is a table with a range of weaponry available to select along with some proximity mines. Throw the mines around the room to make the upcoming firefight that much easier.
Access the terminal in the middle of the room. Copy the records of the sleeper agents onto the disk before the reinforcements begin to cut through the door.
Use the desk as cover and take them out as quickly as possible. Once the room is clear, head out of the bunker with Adler and head towards the end of the hall. The Soviets have locked down nearly every single exit out of the building so you must find another way out.
Escape The Building
Stay close to Adler and follow him to the left then move along the tunnels until Adler manages to open the next hatch. Take a left and eliminate the guards on the walkway.
Advance along the walkway down to the bottom then make a right turn. Keep following Adler through another tunnel until you reach the next hatch. Follow him through the hatch and shortly after, the lights will turn off. Quickly crouch and find some cover next to the walkway ahead. Some troops will move through the darkness so switch to your shotgun to deal with them quickly.
TIP: Some of the soldiers will use torches to move through the darkness so be sure to check your corners as you move through the rooms.
When all the soldiers are dead, Adler will open the hatch at the end of the darkness. Follow him through and make your way up the stairs on the left. In an unfortunate turn of events, informant Belikov has been captured…
Deploy the gas you planted earlier and equip your gas mask. Adler will open the door. Quickly make your way to Belikov and put a mask over his head. With Belikov back on his feet and armed with a weapon, be prepared to move.
Head back towards the elevator, eliminating any soldiers trying to prevent your escape. When you approach it, two Heavy soldiers will emerge from the doors. Shoot them in the head to deal with them quickly. When they’re both dead, head inside the elevator and equip some Heavy armour before heading to the top of the building.
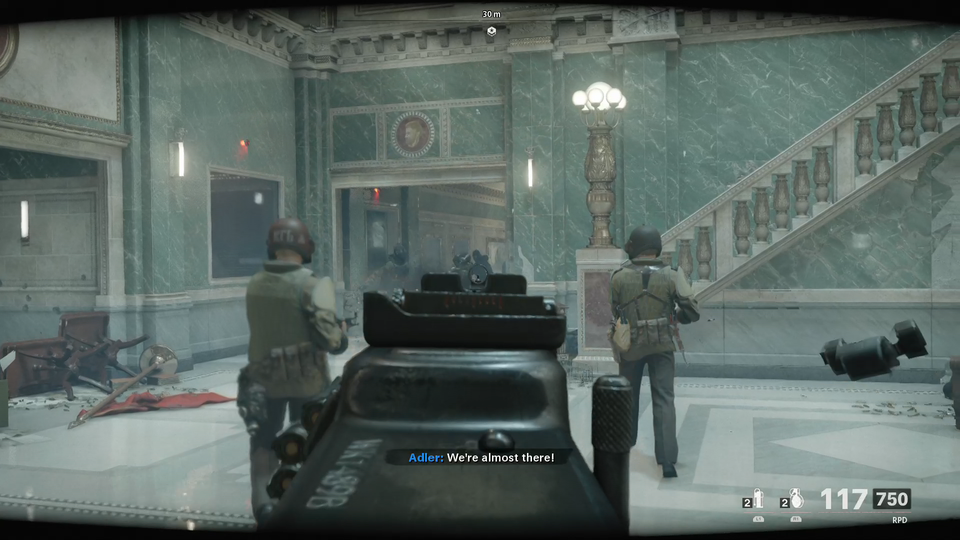
Now back on the ground floor, use the explosives to clear out the group of heavies in front of you.
TIP: Once an explosive has been detonated, there is a brief period of slow-motion. Use this time to eliminate the heavies without any resistance.
Head into the main room and clear out any enemies on the left and right sides. Keep moving along the hallway and begin moving towards the exit.
At the end of the hallway, the double doors will be booted open. Lazar will quickly appear in a car. Hop in and place your weapon outside of the car to provide Adler some cover. More Heavies will approach so deal with them quickly then switch focus to the rear of the car.
Deal with the hostiles at the rear of the car then Lazar will hit the gas pedal. Soon after, a car will give chase so take out the driver. Unleash a wave of fire into the car until it explodes to complete the mission.
MISSION COMPLETE
Achievements/Trophies
- Desperate Measures – Complete Desperate Measures in Campaign on any difficulty.
Explore new topics and discover content that's right for you!