


Call of Duty: Black Ops Cold War is available across a range of platforms.
The multiplayer portion of the full game contains its very own level progression system, new game modes, new weapon attachments, new perks, and so much more.
One of the new additions is multiplayer map Cartel. Set in a remote cartel compound in the steamy jungles of Nicaragua, this map can be played in 6v6 and 12v12 game modes.
In this guide, find out everything you need to know about Cartel, and some handy tips on how to master its layout.
Table of Contents
Read More: Black Ops Cold War: Cartel Is A Reimagining Of The Cancelled Jungle Map In Black Ops 1?
Map Design
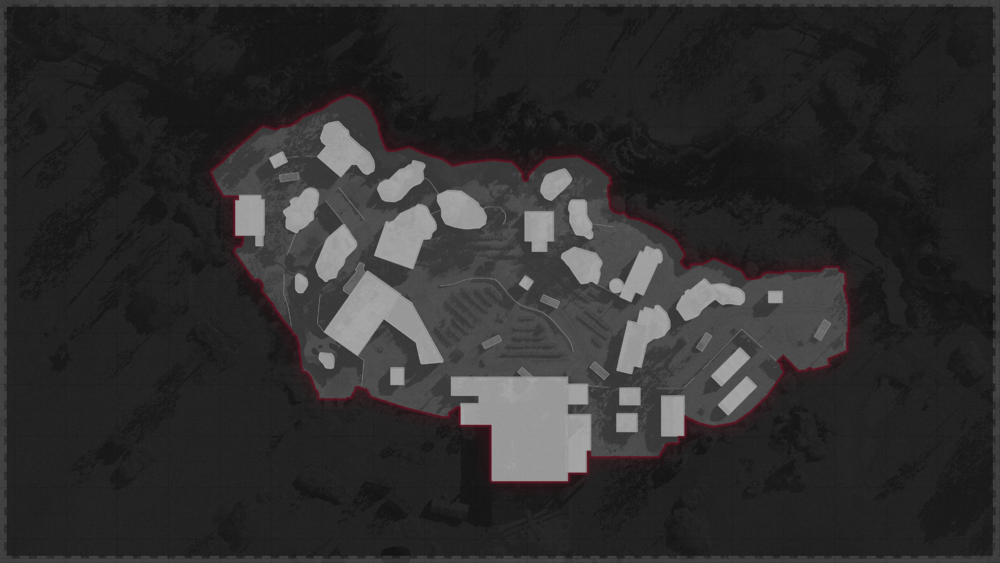

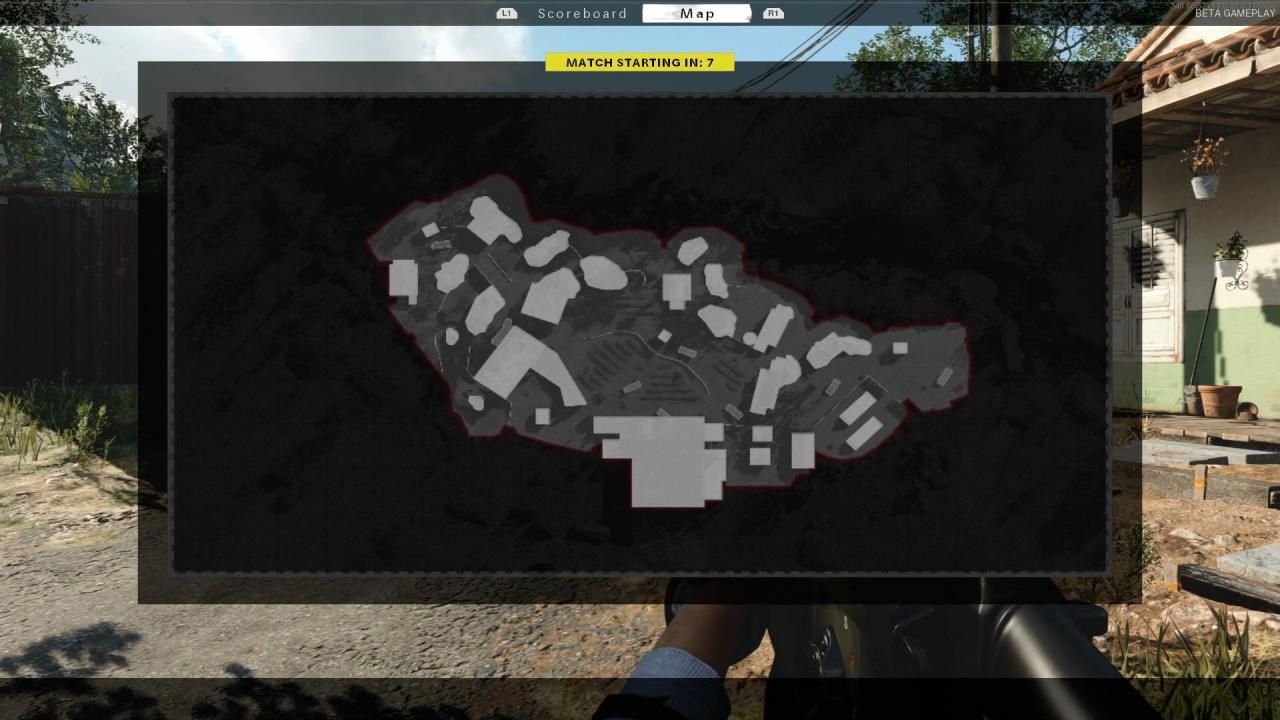
Cartel is one of the many multiplayer maps on Black Ops Cold War
Cartel consists of three distinct lanes, all offering a variety of engagement opportunities.
One side of the map is a rocky river with plenty of open spaces for long-range weaponry to excel.
There are a number of different routes to navigate this particular area of the map, making it very easy to lose track of an opponent. Be aware of enemy footsteps as they splash through the water looking for an easy kill.
The middle of the map contains a minimal amount of cover. There is plenty of foliage which can be used to blend in but it can be extremely easy to get picked off as you navigate your way through to the other side.
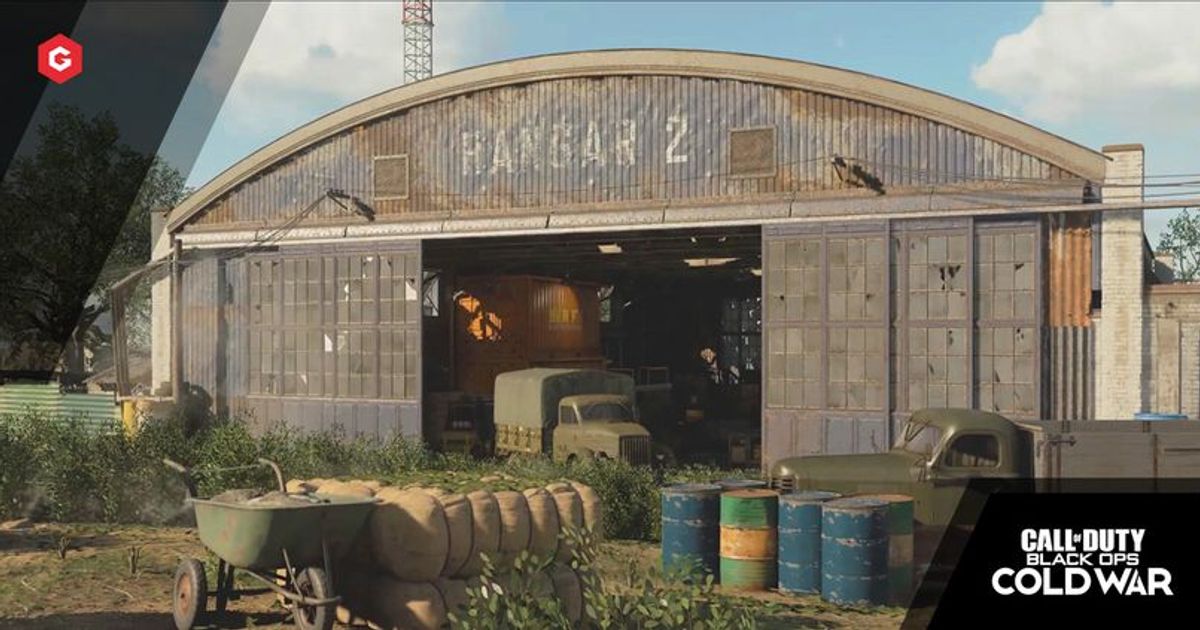
There is an abandoned car located just outside of the warehouse, providing some much-needed resistance to any offensive play coming out of the front entrance.
Lastly, on the other edge of the map is the warehouse. Ideal for any close-quarters engagements, the warehouse is filled with a range of cover, enabling you to pop up, take down your enemy quickly, and relocate before the rest of the opposition find your location.
Holding this particular area is often the key to preventing a spawn flip and anyone attempting an audacious flank.
Read More: Black Ops Cold War: Moscow Map Guide
Tips and Tricks
The Watchtower
Overlooking the middle of the map is a watchtower, one of the few places to get a clear overhead view of the action taking place on the ground.
More often than not, there are plenty of players looking to take control of the high ground for their team, but with room for only one or two players, it can be extremely easy to accumulate plenty of kills in quick succession in this area of the map.
If you’re one of the lucky ones who does manage to ascend to the top of the tower, make sure you are equipped with a Pelington 703 or an LW3 – Tundra to deal maximum damage!
Control the Warehouse
As one of the few indoor areas of the map, the warehouse is often a hotbed of action when scorestreaks are patrolling the skies.
With a total of three entrances, the warehouse is perfect for those wanting to get up close and personal with the opposition.
For the best ways to control this particular area of the map, equip a Field Mic as your Field Upgrade and place it next to one of the entrances to give you a crystal-clear picture of any enemies encroaching on your position.
Best Classes
After several games, we recommend using these weapons from the arsenal in order to secure the win.
Explore new topics and discover content that's right for you!
Call of Duty: Black Ops Cold War