


With Season 2 of Modern Warfare underway, players are going to be jumping onto the huge but familiar setting.
Season 2 sees the return of fan-favourite character Ghost, new Battle Pass items, new weapons, game modes and more.
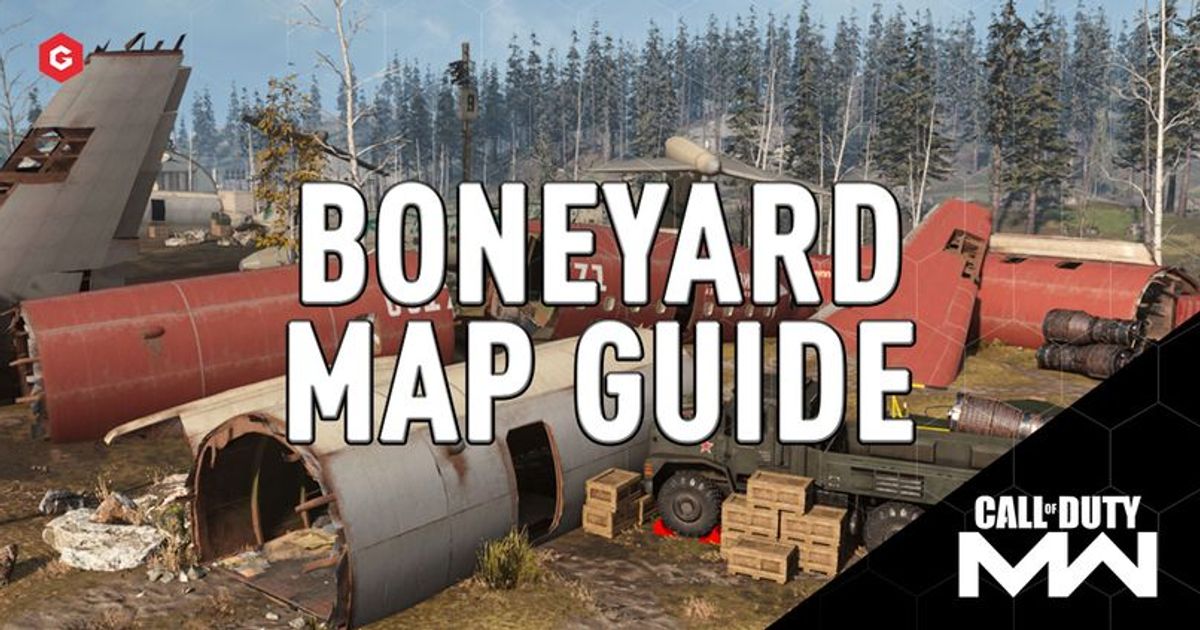
Alongside iconic map Rust, another classic has arrived from Modern Warfare 2 in the form of Boneyard.
Although traditionally a campaign mission, it has been on the wishlist of fans to become a multiplayer map for a long time.
The closest thing we had was Scrapyard, which is due to make a feature in this new map.
In this article, we take a look at the map, showing you the hotspots, how to play the map and some ideal class setups that suit any styles of play.
The Map
The huge map is littered with the carcases of scrapped aircraft, making ideal cover when attempting to cross the map and useful to flank an enemy in order to make a play onto one of the five objectives that are located around the map.
There is plenty of open space on Zhokov Boneyard, making killstreaks such as the VTOL Jet and the Chopper Gunner extremely effective at taking down opponents.
Located in the middle of the map, there is a full remake of the classic Modern Warfare 2 map Scrapyard. At either end of the map, there are two objective flags, an area of the map that is often hotly contested with several enemies battling it out to secure control, attempting to lock in a nasty spawn trap.
Scrapyard
Located 160 miles southwest of Kandahar, Afghanistan, Scrapyard is the epitome of traditional Call of Duty map design, with three distinct lanes all offering a variety of sightlines and opportunities for all weapon types to thrive.
At the north and south sides of the map, two buildings overlook the majority of the map, offering excellent lines of sight for long-range gunfights and for sniper rifles in particular.
The western side of the map is home to the empty aircraft hangar which is ideal for some medium-range engagements with either an assault rifle (AR) or a sub-machine gun (SMG).
On the opposite side, there is a smaller building which is much easier to control due to the three entrance points.
The middle of the map is where most of the action occurs. The planes provide an excellent playground for close-quarters engagements but they can be vulnerable to players that opt to use FMJ to shoot through the thin layer of metal.
Hotspots
The Planes
As mentioned above, the planes are where a lot of the action takes place on Scrapyard. Favouring the shotguns and the SMGs, it is important to be aware of anyone hiding in there looking to rack up a sizable number of kills.
Select a fast-firing weapon with a high damage output for maximum success in this particular area of the map.
North & South Buildings
These two buildings are frequently filled with snipers looking to pick off any enemies that attempt to cross the middle of the map.
It is always important to be aware of any players trying to make a sneaky flank so awareness and defence of the building are key for maximising your success with the sniper on Scrapyard.
The Hangar
The hangar on the western side of the map is the best place to succeed on this map. Players can catch off players pushing into the building from the middle and flankers attempting to make it to the opposite side undetected.
Thanks to its dark nature, it may be worth opting for a thermal scope to spot any crafty campers that will be intent on taking you down quickly, halting your progress across the map and sending you straight back to the respawn point.
Vista Point
Like the purple plane on the opposite side of the map, the Vista Point is where the A flag can be found. The open area means that players can attack from all angles, often making it a difficult objective to keep hold of throughout the duration of a game.
Long-range weapons are the key to keep the vista point out of enemy hands. Find a spot overlooking the flag with a strong Assault Rifle or even a sniper rifle to keep the attackers at bay.
Purple Plane
The E flag can be found in-between two broken halves of the purple plane. It is easy to secure off the break but it can quickly come under attack thanks to the numerous flanking routes down the right- and left-hand sides.
Be prepared to rotate back to the flag if it comes under siege from the opponents. It is important to keep this flag under your control in order to keep some form of points coming in.
How to Play
There are so many ways to play this map and it’s why it is still such a popular map within the Call of Duty franchise.
Here are just a few different ways of playing the map, all giving you the ability to score plenty of kills in the process.
1) Running & Gunning
Ideal for the more aggressive players, mobility is your friend as you try to avoid the enemy snipers watching your every move from the buildings.
Arm yourself with an SMG or a mobile AR loadout to be able to react quickly to any adversities that you will likely encounter as you sprint head-first into the action.
2) Slow & Steady
For the less-aggressive players, playing at a much slower pace can also yield the same sort of results. Using the long lines of sight to your advantage, take-down any sub-machine gunners easily with an AR equipped with low recoil and increased range in mind.
3) Sneaky Beaky
Equipping Dead Silence as a field upgrade in order to navigate the map without alerting the opposition is often the way forward considering the loud nature of footsteps in Modern Warfare.
Equip any weapon of your choosing with a monolithic suppressor to increase the element of stealth further.
Recommended Weapons
Follow us on Twitter for the latest Modern Warfare news. Tweet us your thoughts on Scrapyard returning!
Written byJon Nicholson@MrJonno_95
Explore new topics and discover content that's right for you!
Modern Warfare