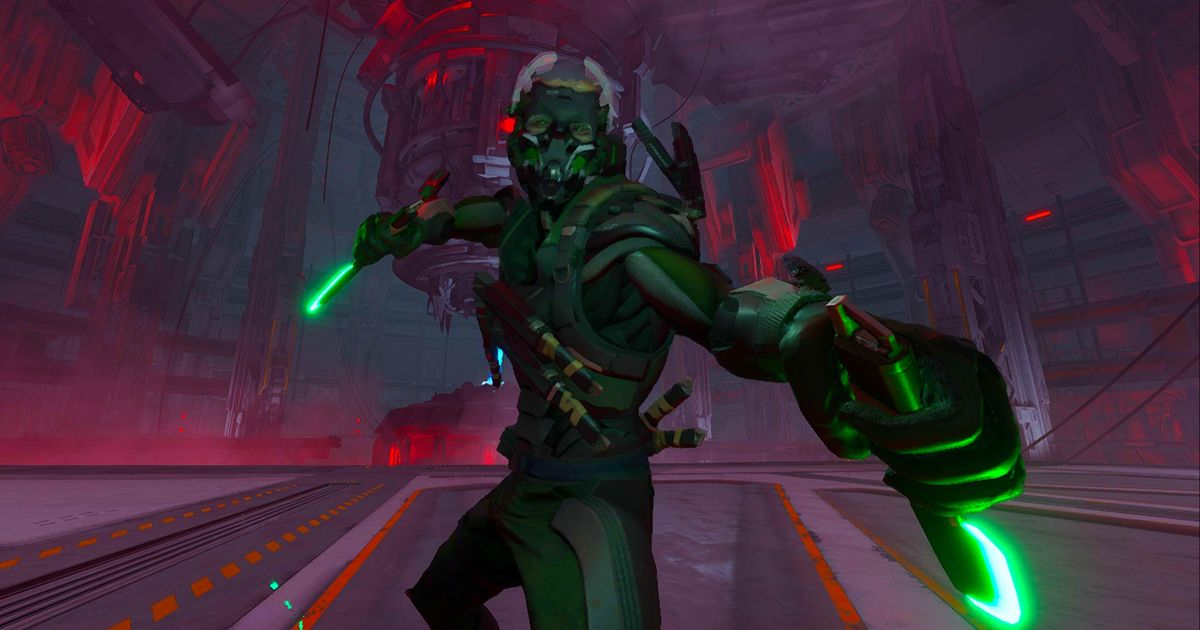
Ready to put an end to the madness in Ghostrunner 2? Mitra is the game's final boss, and putting him down will let you enjoy some peace and quiet after a whole lot of murder. In this guide, we'll break the fight down and teach you how to beat Mitra in Ghostrunner 2.
Each one of the game's boss fights is a big shake-up from the last, and Mitra is no exception. He's fast, deadly, and can be quite annoying if you aren't sure how to counter the crazy things he throws at you. If that wasn't enough, each new phase makes his moves slightly different and slightly harder.
We've been hard at work putting a Ghostrunner 2 walkthrough hub together. It can teach you how to upgrade yourself and how to beat bosses like Rahu if you decide to replay them without dying.
How to beat Mitra the Resurrected in Ghostrunner 2
After the subversive treat that was the previous boss, Madhu, you'll be pleased to know that Mitra only has one health bar. He puts it to good use, though, and will really put players to the test with his fast attacks and occasional parkour challenges.
Phase one
The fight begins fairly low-key, with one or two annoying attacks to look out for. We've listed them below with some tips you should find useful, but playing aggressively will end this phase quickly.
- Charge
- Parry for massive damage, or dodge to the side
- Be prepared for knockback if you block normally
- Slashes
- Cannot be blocked or parried
- Alternates between slashes you need to jump over and slide under
- Don't get too close; you'll be hit easily
- Pulsing glowsticks
- Use your grappling hook to break them when near
- Use shuriken to break them from far away
- Don't slow down time or you won't have enough energy to dash
- Will appear as glowing dots on your mini-map
- Eventually disappear on their own
- Ambush
- Always happens after breaking the final glowstick
- Parry for massive damage
- Don't move the camera or you'll die
When you've cut through a quarter of Mitra's health, you'll be sent into the digital world for parkour. You'll effectively be playing low-gravity Frogger while targeted by green energy that can't be blocked. Take it slow and steady, making use of the time slowing mechanic to dodge if needed.
After some wall running and bounce pad hopping (note that you don't have a wingsuit here) you'll eventually reach Mitra's podium. Don't forget to hit him, as checkpoints in the digital world are rare.
Phase two
Mitra's second phase increases the intensity, but some moves are swapped for others that are slightly more predictable. You're still free to swing at him at every opportunity, but watch out for new move Tempest knocking you off the stage.
- X-slashes
- Fires two, then one, and repeats
- Replaces the regular slashes
- Use the Shadow ability to avoid being directly targeted
- Fairly easy to side-step
- Cannot be blocked or parried
- Charge
- Usually happens after X-slashes
- Pulsing glowsticks
- You now need to break three glowsticks instead of two
- Ambush
- Always happens after breaking the final glowstick
- Tempest
- You'll be pushed back if you try to rush the boss
- Dash forward to (hopefully) stay on the stage
- Explosive Barrage
- He'll jump back - watch out for impact marks on the ground
- If you can get close, the boss is defenceless
After cleaving through another quarter of Mitra's health, you're sent back into the digital world for an on-rails segment. Watch out for the green orbs and lasers that force you to jump onto another rail, and remember to slow down time if needed. You can also jump off the rails and dash back onto them if you're in a tight spot.
Phase three
This is where the fight really gets difficult. You'll need to watch your footing carefully and pray for an opening to get some quick swings in, or get very good at parrying for the damage it provides.
- Tempest
- Stand back after each death or he'll push you away
- Standing back usually triggers a charge
- Explosive Barrage
- Identical to the second phase
- X-Slashes
- Identical to the second phase
- Lasers
- Blue lines move slowly across the arena, turn red, then fire
- Dash through them, and always know what's behind you
- Will obscure the X slashes as they speed toward you
- Pulsing glowsticks
- Identical to the second phase
When the boss has a slither of health left, you'll go to the final digital section. This one has zero checkpoints but is some fairly simple platforming with red rings you need to jump over and more green energy to avoid. When you reach Mitra, deliver the final blow, and the fight will be over.
That's a wrap on Ghostrunner 2's final boss. If you plan on replaying, check out our thoughts on the game's trophy list. You should also read our review and compare it with your own thoughts now that you've beaten the game.
Explore new topics and discover content that's right for you!


