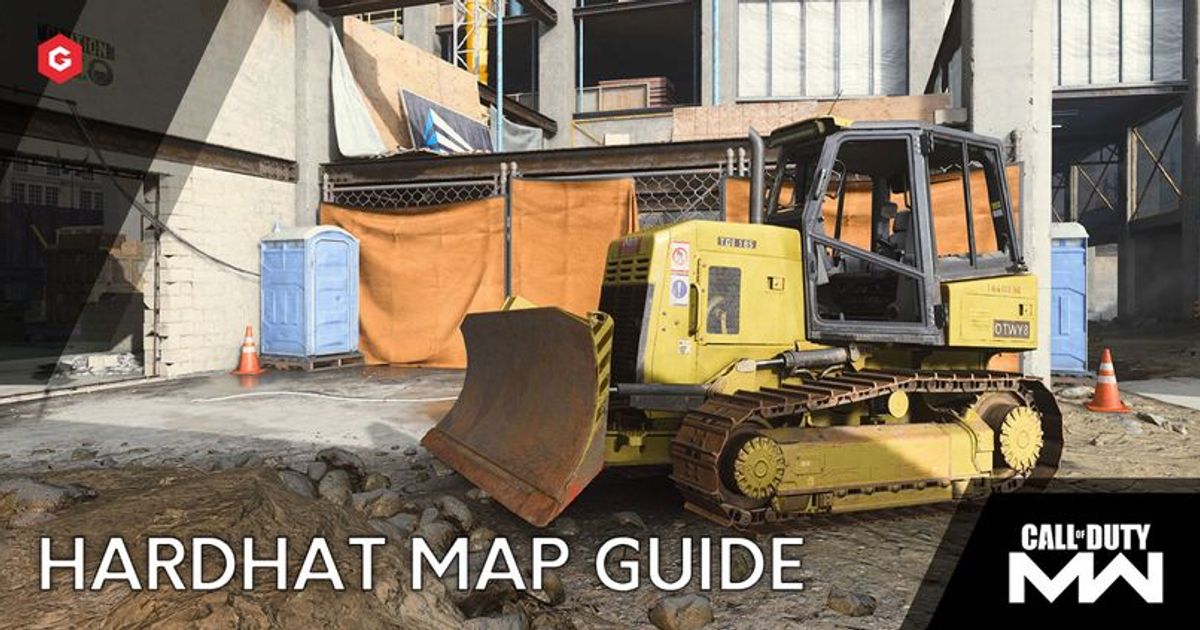
After being revealed as part of the Season 3 roadmap, Hardhat has finally been added into Modern Warfare.
The classic map from Modern Warfare 3 is a haven for close-quarters combat, with the central area playing host to the epicentre of the chaos.
In this article, find a comprehensive guide to the map, including key hotspots, objective locations, how to play the map and some handy tips and tricks to get the upper hand on the opposing team.
Map Overview
Objective Locations
Domination
Search & Destroy
Hardpoint
Cyber Attack
Key Hotspots
Centre Building
The central building is one of the key places to maintain control of if you are to win any game mode on Hardhat. This area of the map is where the majority of action takes place, with several different ways for players to enter the area.
The trick to locking down the small room is utility usage. There are only two ways into the room so a well-placed Claymore or Proximity Mine can definitely cause an impact if more than one enemy is trying to break into the room.
As for the area outside of the room, laying prone at the end of the sewage pipe is a great way of halting any enemies approaching from the Concrete Formwork Building.
Containers Area
This area of the map is one of the more open areas, allowing players to use a variety of weapons in order to utilise the longer lines of sight. With the ability to mount on the striped cinder block, this position is perfect for mowing down enemies with a light machine gun.
It is likely that a barrage of equipment from the enemy team will be raining down onto this location so choose your Field Upgrade wisely if you want to keep hold of this area of the map. A Trophy System is perfect for blocking a few of the explosives but if one does happen to hit you, use the concrete pipe ahead to change position.
Scaffolds Building
Overlooking the bulldozer located on the southern side of the map, the Scaffolds Building is another area where you can score plenty of kills without having to wonder anywhere near the madness taking place in the middle of the map.
There are plenty of corners to hide in to catch opponents off guard and the wall makes for a perfect vantage point to pick off enemies trying to get in amongst the action in the centre.
A marksman rifle can do some serious damage in this area. Try an MK2 Carbine with some attachments to increase ADS speed and you will be making plays worthy of the highlight reel in no time at all.
How to Play
Speed Is the Key
One of the best ways to play Hardhat is as quickly as possible. With so many compact spaces on the map, using mobility to catch the passive players off guard is an easy way to get some kills on the board.
It is important to check those corners for any players looking for a quick kill so keep your eyes peeled when breaking the doors of the Central Building or moving into the construction yard.
Slow & Steady
Although Hardhat can favour the aggressors, there are plenty of places where the slower players can deal just as much damage as someone sprinting around with an SMG. Mount up on the cinder block at the containers to pick off enemies with ease but do remember to move every now and again before a player sneaks up from behind and takes you down.
Rather than equipping an Assault Rifle, try a mobile LMG loadout and lock down the map with a devastating barrage of bullets.
Gunslinger
This technique is a bit different than the other two. Using pistols as a primary weapon can be very effective given their impressive amounts of damage that can sometimes rival some SMGs. The pistols are extremely mobile and, when in the right position, can be deadly at longer ranges.
Opt for a M19 with a Lightweight Trigger for an increased rate of fire. Combine it with Double Time as the first Perk for increased Tactical Sprint and it’s guaranteed to make an impact on the scoreboard.
Recommended Classes
Explore new topics and discover content that's right for you!
Modern Warfare


