


Besides the vast open world and adventure that come with Starfield, there are some puzzles you'll have to solve. One of these early riddles is found in the Tapping the Grid mission, which is a side quest in The Well found under New Atlantis. We've provided a step-by-step guide on how you can accomplish the Tapping the Grid Junction box puzzle.
The side quest's main goal is to find and activate a couple of junction boxes. But the challenge in this puzzle is the last junction box that requires you to do a bit more thinking.
As you finish the puzzle though, we suggest you check out our other helpful guides on the game such as how to get sealant and how to dock. We've also got a look at how to pay off bounties in Starfield.


Starfield Tapping the Grid Junction box puzzle guide
The Tapping the Grid Junction box puzzle in Starfield kicks off when Louisa informs you that there's a power drain in the area. She'll then ask you for help to locate some junction boxes to determine the source of the power drain.
Before looking for the junction boxes, make sure you open your mission menu and set the Tapping the Grid mission as active. This will allow you to use your scanner to locate the junction boxes. If the arrow trail to the boxes doesn't appear yet, turn your scanner off and on.

For the first junction box, you'll find it near The Well's entrance. From interacting with Louisa, you'll be heading near the exit. You'll find some stairs, but you must head left towards the marker on your scanner. This junction box is found on the wall, in which you can open its panel and then activate it.

When it comes to the second junction box, retrace your steps past the stairs and make the right. You'll have to keep walking straight until you pass by two sets of stars. You'll continue walking until you pass by the Apex Electronics store. As you reach near the hall's end, you'll find another staircase in which you'll finally climb up to.
This will then lead you to a red door that you can unlock. After opening the next red door and going up more stairs, you'll find the second junction box behind a retractable door. You can then open its panel and activate it.

The third junction box isn't that difficult to locate. It's found just below the second floor. As the door ahead of you is locked, you must go back to the entrance and turn left down the stairs. This junction box is at the end of the hall.
For the last junction box, you must go back to the two staircases near the Apex Electronics store. From there, you'll use the stairs on your right which is also behind the store. Continue on the path and you'll find another set of stairs. Follow the quest marker until you see a grey metal door. As you open the door, you'll find the last junction box locked behind a puzzle.

How to solve the fourth junction box puzzle
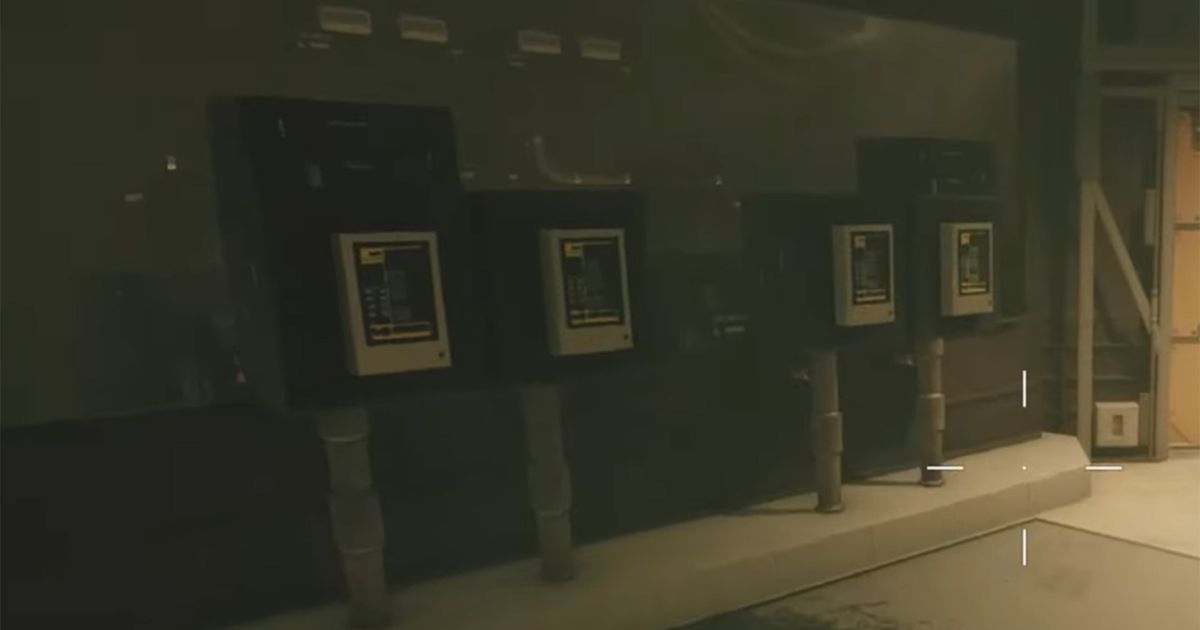
To solve the puzzle, your objective is to use the switches to light up the electrical panels. Take note that every time you activate a box, two lights will either turn on or off at the same time. This requires you to decipher in what order you should switch the panels.
You must turn off the first three panels so that the first and third panel's green lights are on. Then, you can turn the leftmost panel back on. The solution is basically in this order: Far Left, Middle Left, Middle Right, Far Left.

This will then open the retractable door and you can activate the final junction box, completing the mission as you return to Louisa.
That's it for this walkthrough on the Tapping the Grid Junction box puzzle. Want more Starfield guides like this? Check out our other pieces such as should you defend The Lodge or go to the Eye and how find Scorpion's Sting.