


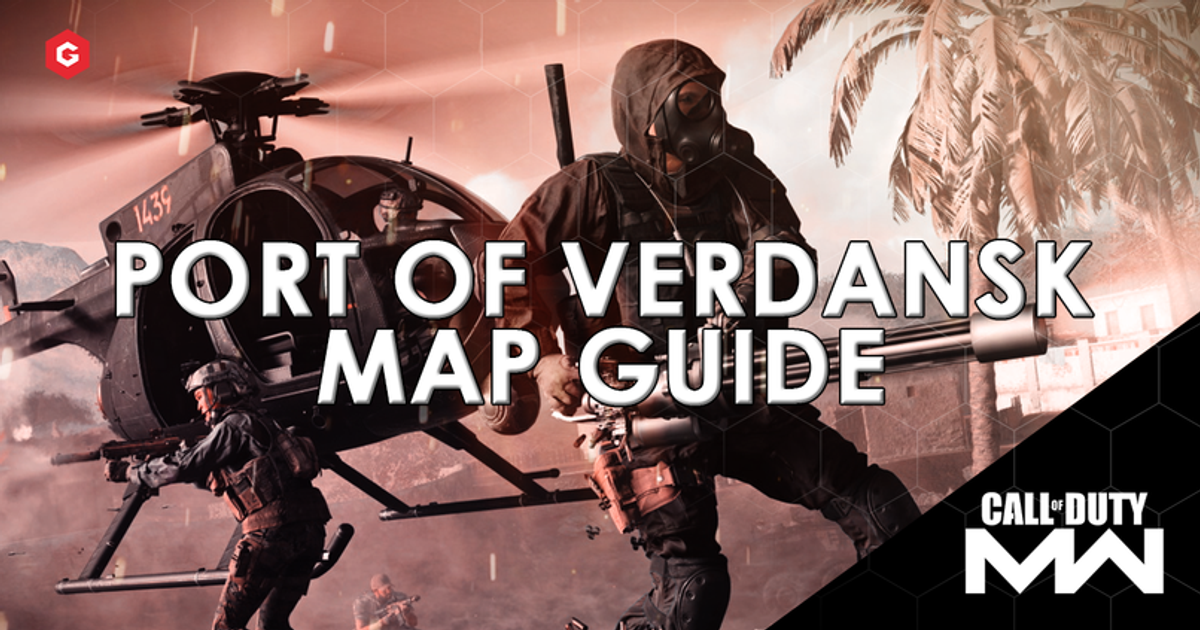

The Port of Verdansk is the latest Ground War map to be added to the playlist as part of the first season of post launch content on Modern Warfare.
Set in a cargo shipping port, there are many ways to achieve success on this particular map and several different styles of play that can be utilised in order to gain control of the map.
In this guide, we will cover the key areas of the map and some handy Modern Warfare tips & tricks to help you score plenty of kills and have plenty of fun along the way!
WATCH NOW: OUR GUN GUIDES DOWN BELOW TO IMPROVE YOUR MULTIPLAYER EXPERIENCE
The Map
Lumber
Lumber is the location of the A flag on the Port of Verdansk. Positioned in the middle of lots of shipping containers, the area surrounding the flag is very compact, making a shotgun or a sub-machine gun extremely effective when attacking and defending the objective.
Due to the positioning of these containers, there are plenty of corners where an opponent could be hiding or a claymore could be waiting to halt your progress.
Outside of the flag area, it is very open, making navigating away from the flag difficult so equip smoke grenades in front of you to allow you to dodge any snipers waiting to take you down.
One of the best ways to escape Lumber is to head straight to the B flag where there is the minimum amount of open space, giving you plenty of cover as you attempt to progress further up the map.
AD
Bodyshop
The bodyshop is where you will find the B flag on the map. It is essential to listen for any opposition footsteps coming through the many entrances.
To make your life a bit easier, arm yourself with a proximity mine or claymore to block off a couple of the entrances or use a heartbeat sensor to keep track of any incoming targets attempting to capture the flag.
The building is very dimly lit, making it easy for players to sit in a corner without alerting any opposition. If you fancy playing a bit sneaky, equip a suppressor to your weapon of choice and take down enemies with ease.
Vacant
For fans of Call of Duty 4: Modern Warfare, this area of the map is going to feel very familiar indeed.
The location of the C flag is in the box-filled warehouse of Vacant. The surrounding area is an entire rework of the classic map with a few new additions including holes in the roof to ambush opponents who have locked down the ground level.
The combination of speed and aggression works well in this area. There are lots of narrow alleyways so select a weapon with a lot of firepower in order to guarantee an easy kill.
Processing Centre
The processing centre is the hardest area of the map to control and is the location of the D flag. With so many different entrances into the building, it is extremely hard to defend against a well-timed attacking play.
Once the flag is secure, access the roof for a great vantage point to snipe enemies in their spawn area.
Any form of long-range weaponry will have a significant impact when playing on the rooftop. As for the lower levels, use the trophy system field upgrade to destroy any incoming grenades and the munitions box to resupply on claymores, proximity mines and ammunition to hold off the opposition.
When attacking this objective, tactical equipment is your best friend. Use snapshot grenades to locate enemies in the area and flash grenades to blind any opponents that may be watching one of the entrances.
Storage
Consisting of two sets of storage lockers, this is where the E flag is located. Its close distance to the home spawn makes it the first port of call when establishing early control of the map.
It is possible to stay out in the open thanks to the forklift truck blocking the front of the flag but it is still important to be aware of any snipers positioned on the yellow cranes.
There is a multitude of ways to play this area of the map. Choose to stay quiet in one of the open storage lockers to make a clutch play to save your flag from being overrun by the opposition or lean using the edge of the building to pick off enemies easily without showing too much of yourself to the enemy.
How to Play
Long Range
Due to the many open areas of the map, it is easy to create a lethal long-range Assault Rifle (AR) or a well-tuned sniper rifle fit to take down opponents at the furthest of ranges. Use the tall shipping cranes and the bridge on the western side of the map to take down enemies that attempt to move around in the open.
Height Advantage
With plenty of roofs on buildings and the aforementioned shipping cranes, getting the height advantage is a great way of taking down enemies easily without alerting them to your location.
Arm yourself with a semi-automatic marksman rifle and a munitions box to ensure you don’t have to move from your vantage point.
Hop In!
At the beginning of the game, grab one of the many armoured vehicles that are available and put the pedal to the metal and get close to the enemy half of the map.
As it will still be in its early stages, take down any enemy that is fresh into the battlefield easily with the wide range of weaponry available on these extremely powerful vehicles.
Here are some of the weapons that we would recommend using on the Port of Verdansk. (Click the links for full class guides)
Follow us on Twitter for the latest Modern Warfare news. Tweet us your tips for this new map!
Written byJon Nicholson@MrJonno_95
READ BELOW OUR GUIDE ON THE MP7 AND ITS ATTACHMENTS
Explore new topics and discover content that's right for you!
Modern Warfare