


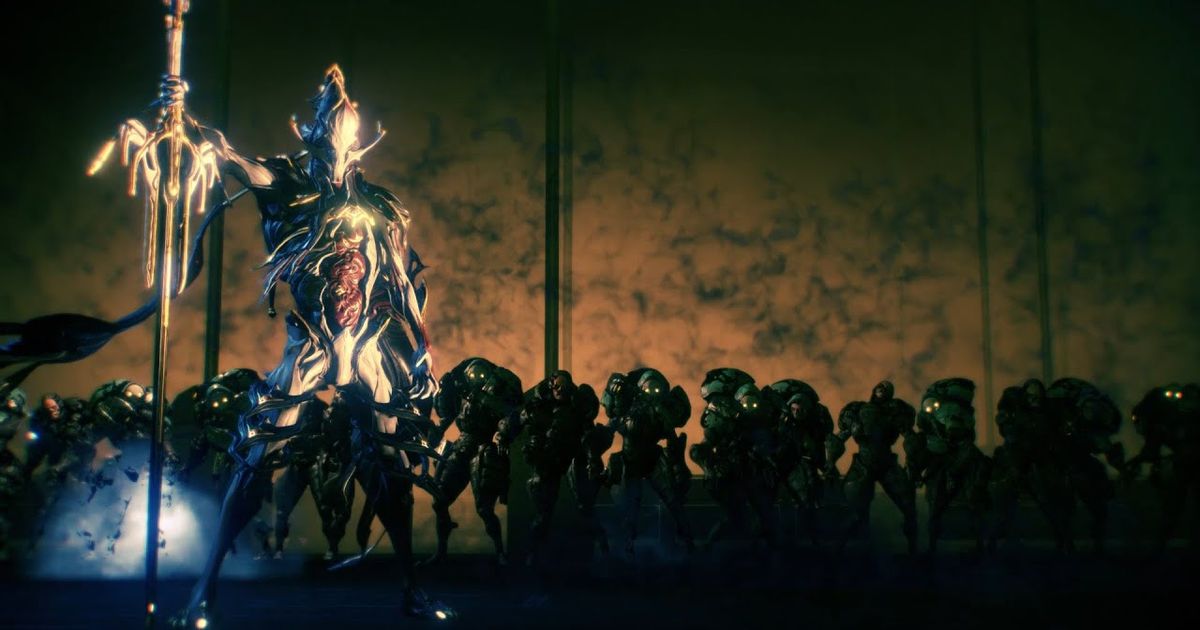

Inspired after the grim reaper, Nekros powers emulate dark magic and necromantic abilities, like raising the dead to aid you. In combat, he’s also a great tool to quickly farm materials and several other items that otherwise would take a long time to obtain. He can shine a bit better under some changes with the Helminth System, but the original approach of this warframe is more inclined to be a support.
His Prime version also displays higher shields, armor, and energy capacity, as well as an additional polarity. However, right now Volt Prime is unobtainable until the Vault brings him back, so you may need to roam around the Trade Chat in case you want him.
How to craft Nekros?


Nekros' main blueprint can be purchased from the Market, and the component blueprints can be obtained from defeating Lephantis on Magnacidium, Deimos.
Building Requirements
Nekros Blueprint Price - 100,000 Credits
Nekros Neuroptics - Drop Chance 33.333% (Magnacidium, Deimos)
Nekros Chassis - Drop Chance 33.333% (Magnacidium, Deimos)
Nekros Systems - Drop Chance 33.333% (Magnacidium, Deimos)
Building Time
Warframe- 72 Hours
Components - 12 Hours
Nekros Overview and Best Weapon Options
With slow casting speed and basically no significant offensive abilities, Nekros is a support warframe that needs to be focused on survivability and ways to effectively use crowd control… in combat, that is. However, this sinister warframe shines as the best tool for loot farming, to such a ridiculous extent that it makes him a great asset in Endless missions.
Abilities
Passive
A master of death, Nekros regenerates 5 points of HP any time an enemy dies within 10 meters of him. His passive also can heal Companions.
Soul Punch
A blow so powerful, it turns the enemy's very soul into a deadly projectile, damaging all in its path. Enemies that survive the blow are Marked for Harvest and become one of Nekros' Shadows of the Dead if killed while marked.
Strength:100 / 200 / 350 / 500 of Initial Impact damage
Range:20 / 30 / 40 / 50 meters of cast range
Misc:
Knockback on hit
25 % of Instant kill threshold
50 Points of projectile Impact damage
100 Points of area Impact damage
Marked for harvest duration: 3 seconds
Terrify
Casts fear into the hearts of nearby enemies, causing them to run away in terror.
Strength:
7 / 12 / 15 / 20 Affected enemies
5 / 10 / 15 / 20 % Armor reduction
Duration:10 / 15 / 20 / 25 seconds
Range:5 / 10 / 12 / 15 m
Desecrate
Forces fell enemies around you to drop additional loot.
Energy per Corpse: 10
Range:10 / 15 / 20 / 25 Meters
Misc:
22.5% / 32% / 42.5% / 54% of Drop table chance
Shadows Of The Dead
Summons shadow versions of vanquished enemies to fight alongside you for a short period of time.
Strength:
25% / 50% / 75% / 150% of Damage bonus
15% / 35% / 65% / 100% of Shield bonus
15% / 35% / 65% / 100% of Health bonus
Duration:6 / 5 / 4 / 3% of Health decay per sec
Misc:
4 / 5 / 6 / 7 Shadow copies
10 Meters of spawn radius
30 Meters of recall range
Recommended Weapons
Since the idea of Nekros isn’t to be the tank or even a big DPS you need to compensate with hard-hitting weapons that kill fast, and that’s why we’re using Ignis as Primary with Akstiletto as Secondary. For melee, it only makes sense that we use the great scythe Hate, which you can obtain defeating the Shadow Stalker
Primary Weapon - Ignis

Secondary Weapon - Akstiletto

Melee Weapon - Hate

Nekros Best Builds
Nekros - Farmer Build

Mods List
Aura Mod: Corrosive Projection
Exilus Mod: Cunning Drift
Loadout:
Despoil
Equilibrium
Health Conversion
Vitality
Continuity
Overextended
Fleeting Expertise
Stretch
The idea of the build is extremely simple, you will replace Desecrate's cost for Health instead of energy and it will run infinitely, making you loot one more time per corpse during the rest of the mission. The augmenting mod Despoil makes Desecrate run on Health instead of Energy, which, combined with Equilibrium, Health Conversion, and Vitality will be the base of the build. Equilibrium will make Energy orbs will also give you Health, thus making sure that you basically don’t run out of Health at any given point. Health Conversion will also boost your armor every time you get a Health Orb, giving you more sustain, and Vitality will maximize your Health Pool. The rest of the mods will add Range, Duration, and Efficiency, extending your area of reach and the amount of Health drained. The rest is just a matter of activating Desecrate and start killing enemies, after which you will receive an extra drop chance. I dare you to go into a Survival mission.
Explore new topics and discover content that's right for you!
Warframe