


The Tall Tales in Sea of Thieves are some of the most challenging series of structured quests that require you to have all your wits about you to complete. The game has a total of 11 different Tall Tales. One of the most exciting Tall Tales is Shores of Gold.
The journey to the Shores of Gold requires you to solve several vault puzzles and brave the path to Forsaken Fortune. If you’re struggling to solve the confusing puzzles and in finding the different objectives in the Shores of Gold Tall Tale, worry no more! Here’s a step-by-step guide to complete this quest.
While you’re here, learn how to solve the Crook’s Hollow riddle and how to get the Trading Company Distinction.
How to Start the Shores of Gold Tall Tale
In order to start the tall tale, you need to head to Morrow's Peak Outpost. There, you will meet Gracie just outside the tavern on the hill. Next to her is a wagon with a book to start the Tall Tale.
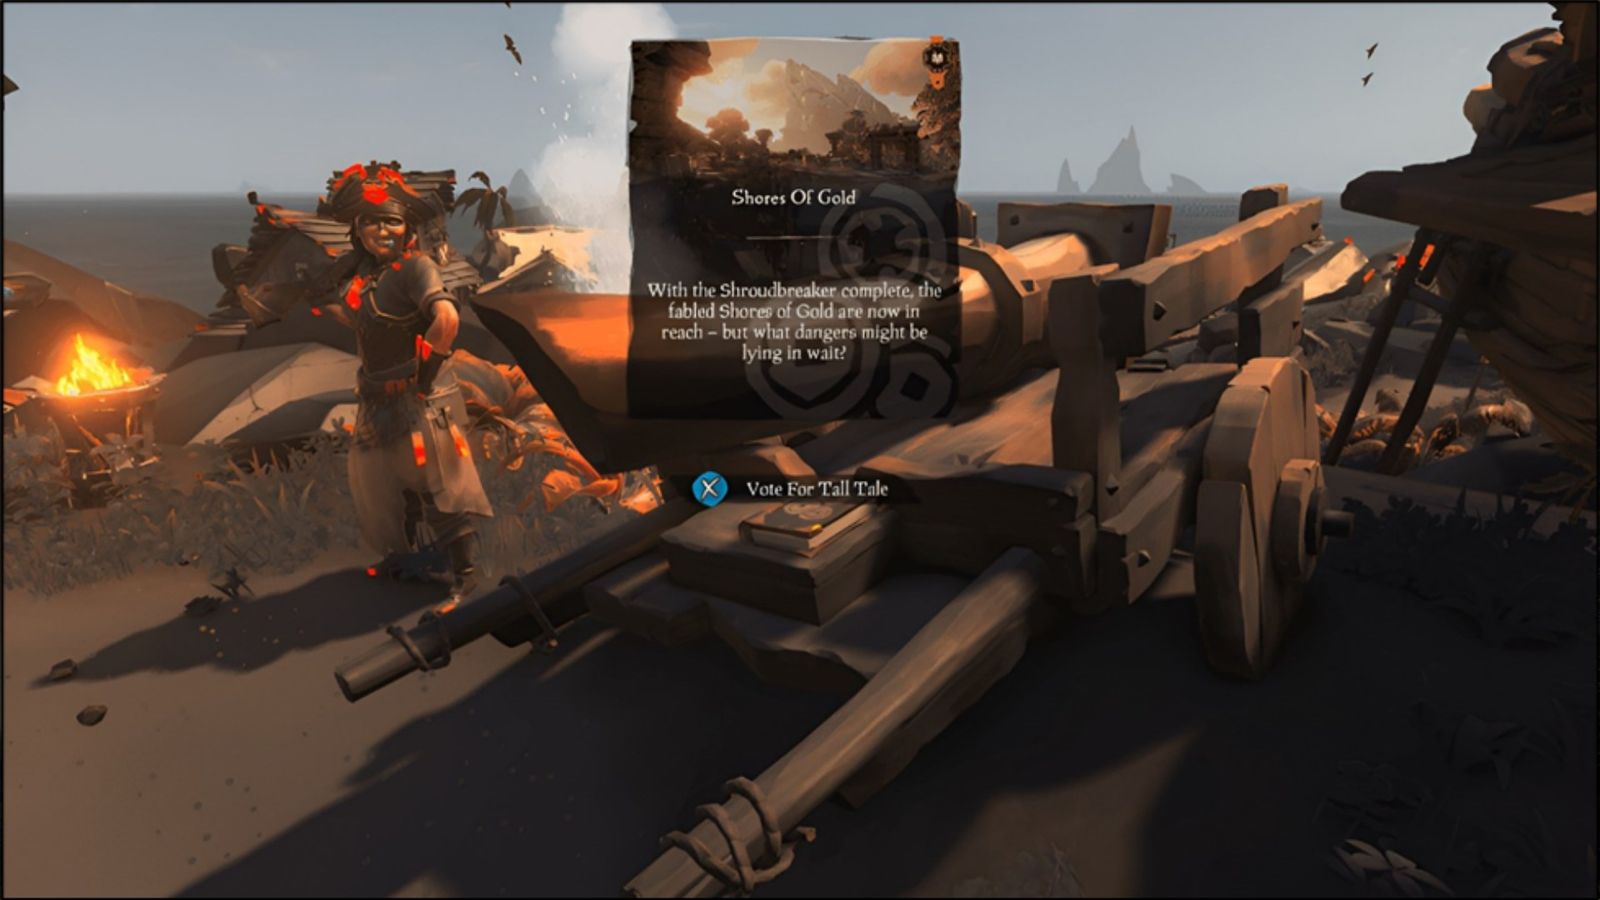

After she's done talking to you, you'll notice your ship has the Shroudbreaker strapped to its helm. You are now ready to set sail for the Shores of Gold.
How to Get to the Shores of Gold
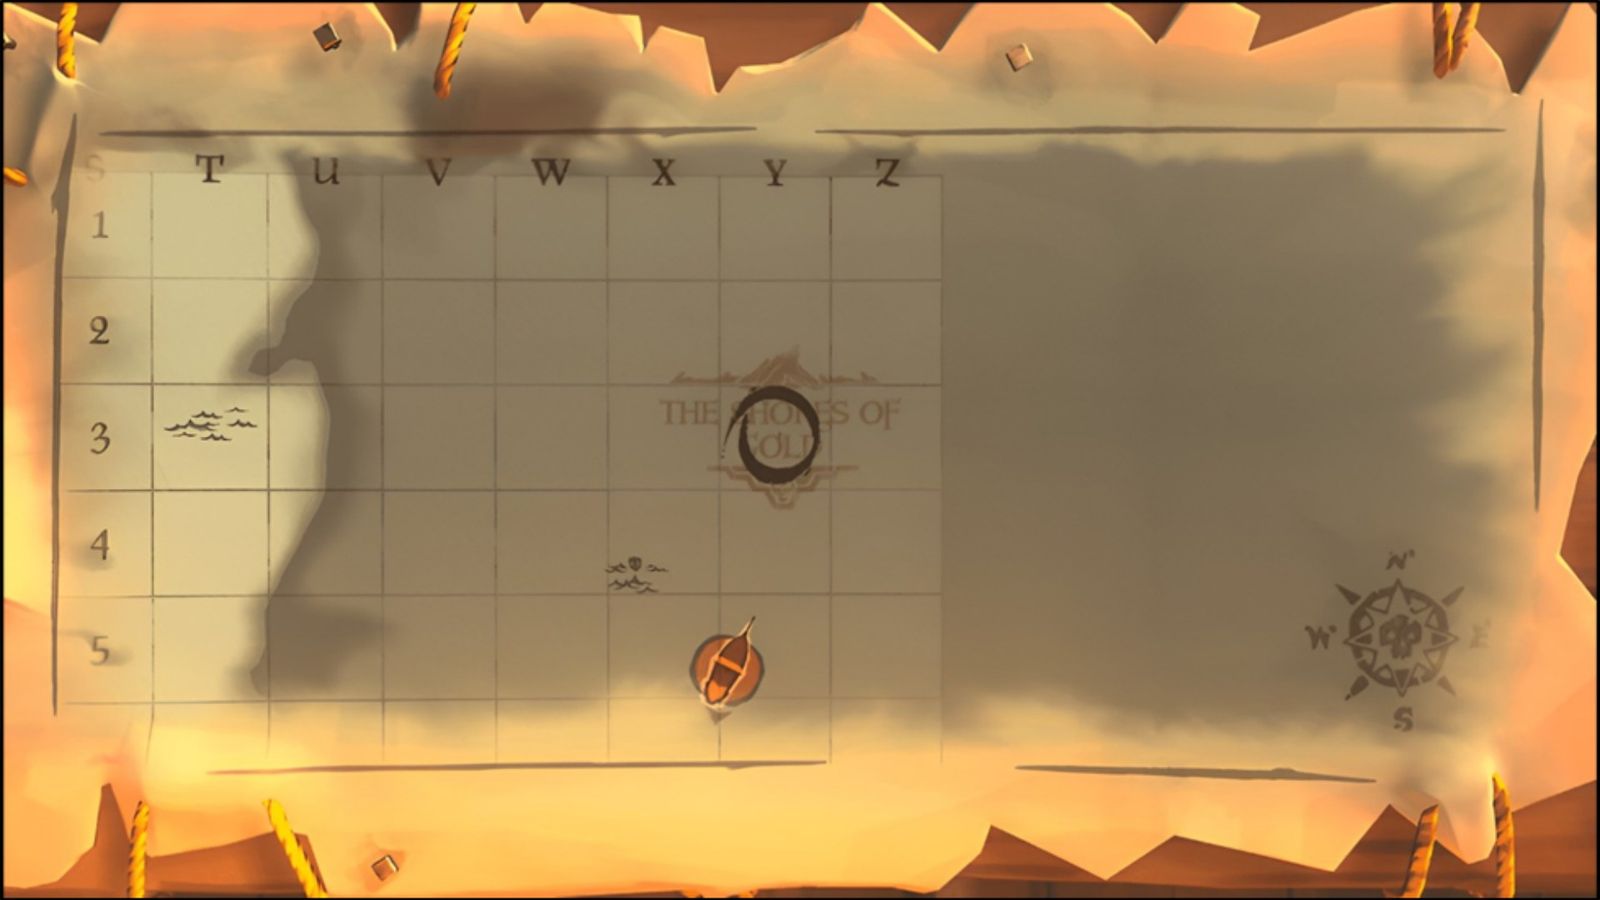
You need to head for the Y3 on the map, which is north of Morrow's Peak Outpost. You can sail through the shroud to the Shroud of Gold without any problem since you have the Shroudbreaker.
You will then reach the island, Tribute Peak, in the Shores of Gold. You should approach the island from the south, as it gives a better view of the island.
How to Solve Vault Puzzles and Obtain Medallions
On the south side of the island, you will find a shipwreck in which there will be a journal. After reading the journal, head south to the giant rock, and you can enter it from its east side. This giant rock is the Southern Vault.
Southern Vault (Shark)
The Southerm Shark Vault is a typical ancient vault with puzzles in which you need to rotate the blocks. Once you light up all the braziers, the vault door will close, and the room will start filling with water.
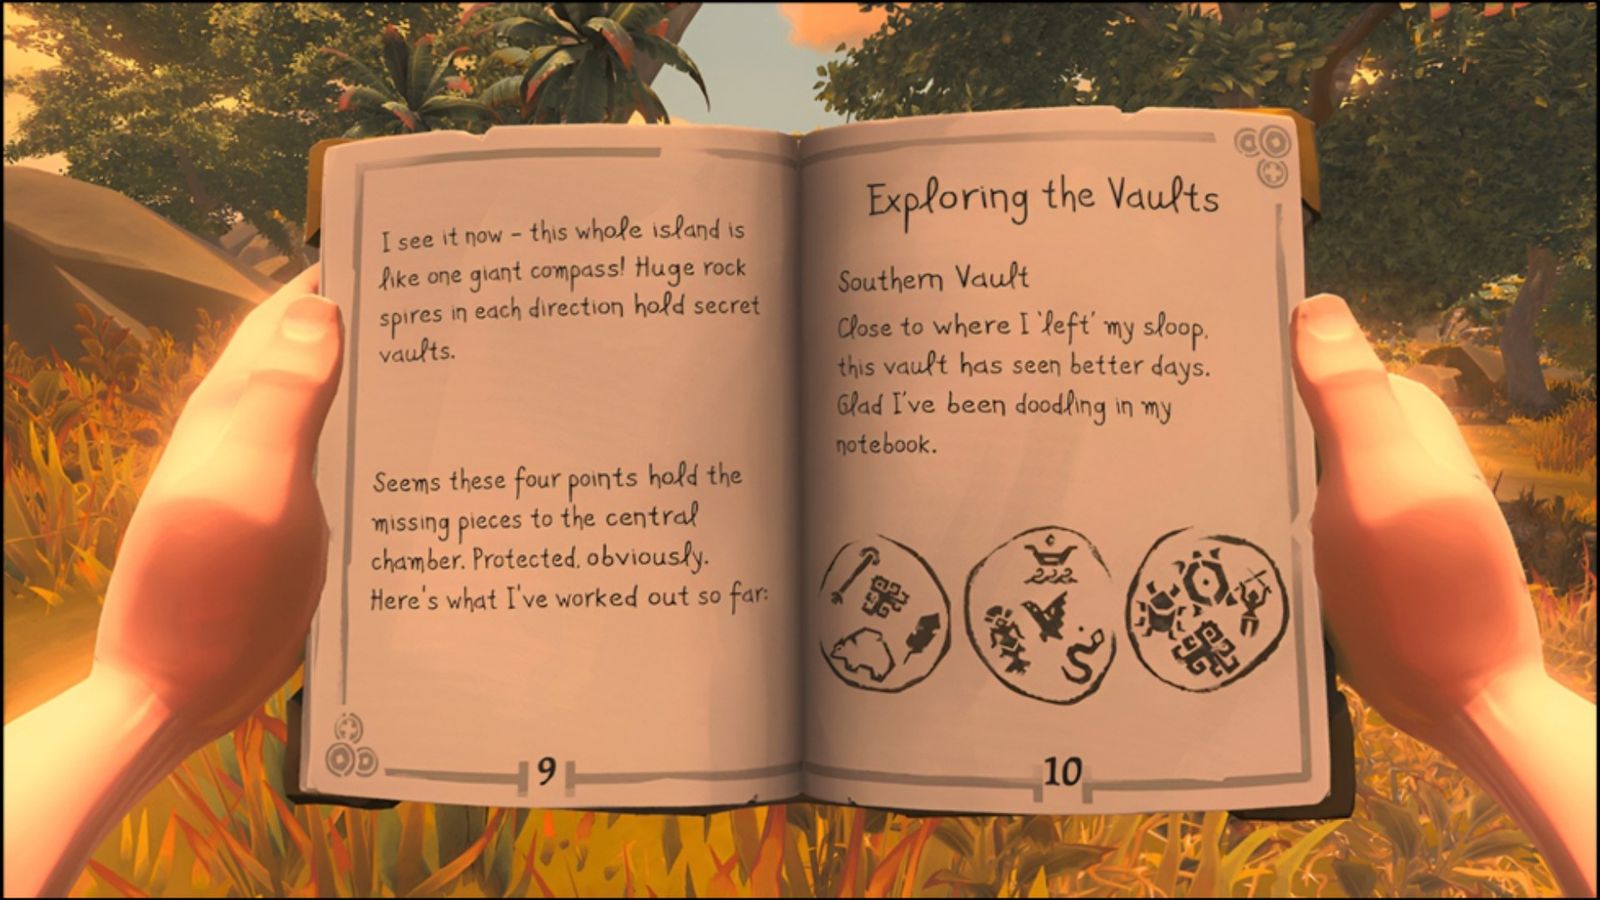
You have to solve the puzzle in time to prevent yourself from drowning. You will find three sequences of four symbols in your book. The tricky part is that the third block is broken. The solution to the puzzle is:
- Sequence # 1: Arrow — Bear — Feather — Kraken
- Sequence # 2: Mermaid — Boat — Bird — Snake
- Sequence # 3: Turtle — Scarab — Warrior — Kraken
Once you solve the puzzle, you will acquire the Shark Medallion.
Place it outside the vault somewhere, as you need to take it to the compass vault afterward. After that, head west towards the Western Vault.
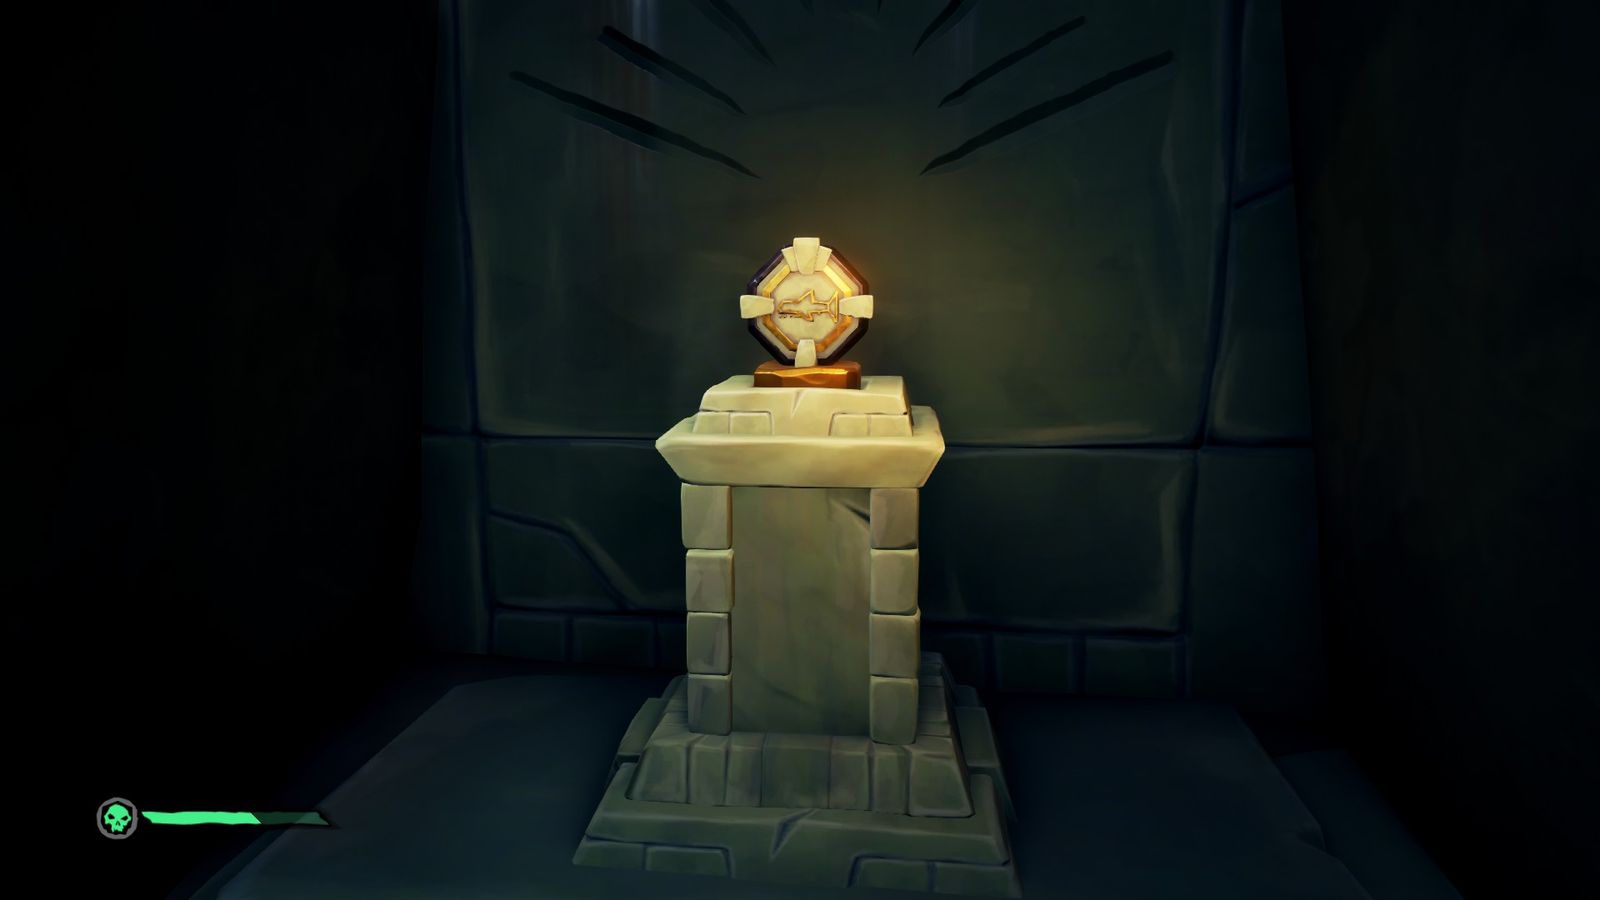
Western Vault (Boat)
Go into the vault and light all the braziers, and you will see a picture of Tribute Peak appear on the altar. The picture will have four circles on it, each with a different number of dots representing the block number.
You can visit each of those circles on the island to find out what symbol they represent. The solution to this puzzle is
Kraken — Shark — Turtle — Flame
Once you solve the puzzle, you will acquire the Boat Medallion which you can put at the same place as the Shark Medallion.
Now you must head north from the Western Vault to get to the Eastern Vault. You will see a huge rock; it’s the Eastern Vault. Enter it.
Eastern Vault (Warrior)
You will see a huge key painted on a wall. Visualize the key as you need to construct it part by part.
Each block consists of four parts of the key. Starting from the left block, you will roll it, so it shows the tip of the key. Then, moving toward the right, you will construct the key such that the rightmost block will show the base of the key.
After solving this puzzle, you will obtain the Warrior Medallion. Place it with the other medallions. From the Eastern Vault, start heading north towards the Northern Vault.
Northern Vault (Kraken)
In the vault, start the puzzle, rotating spikes will start popping up to kill you. The trick to solving this puzzle is to display the same symbol on each block.
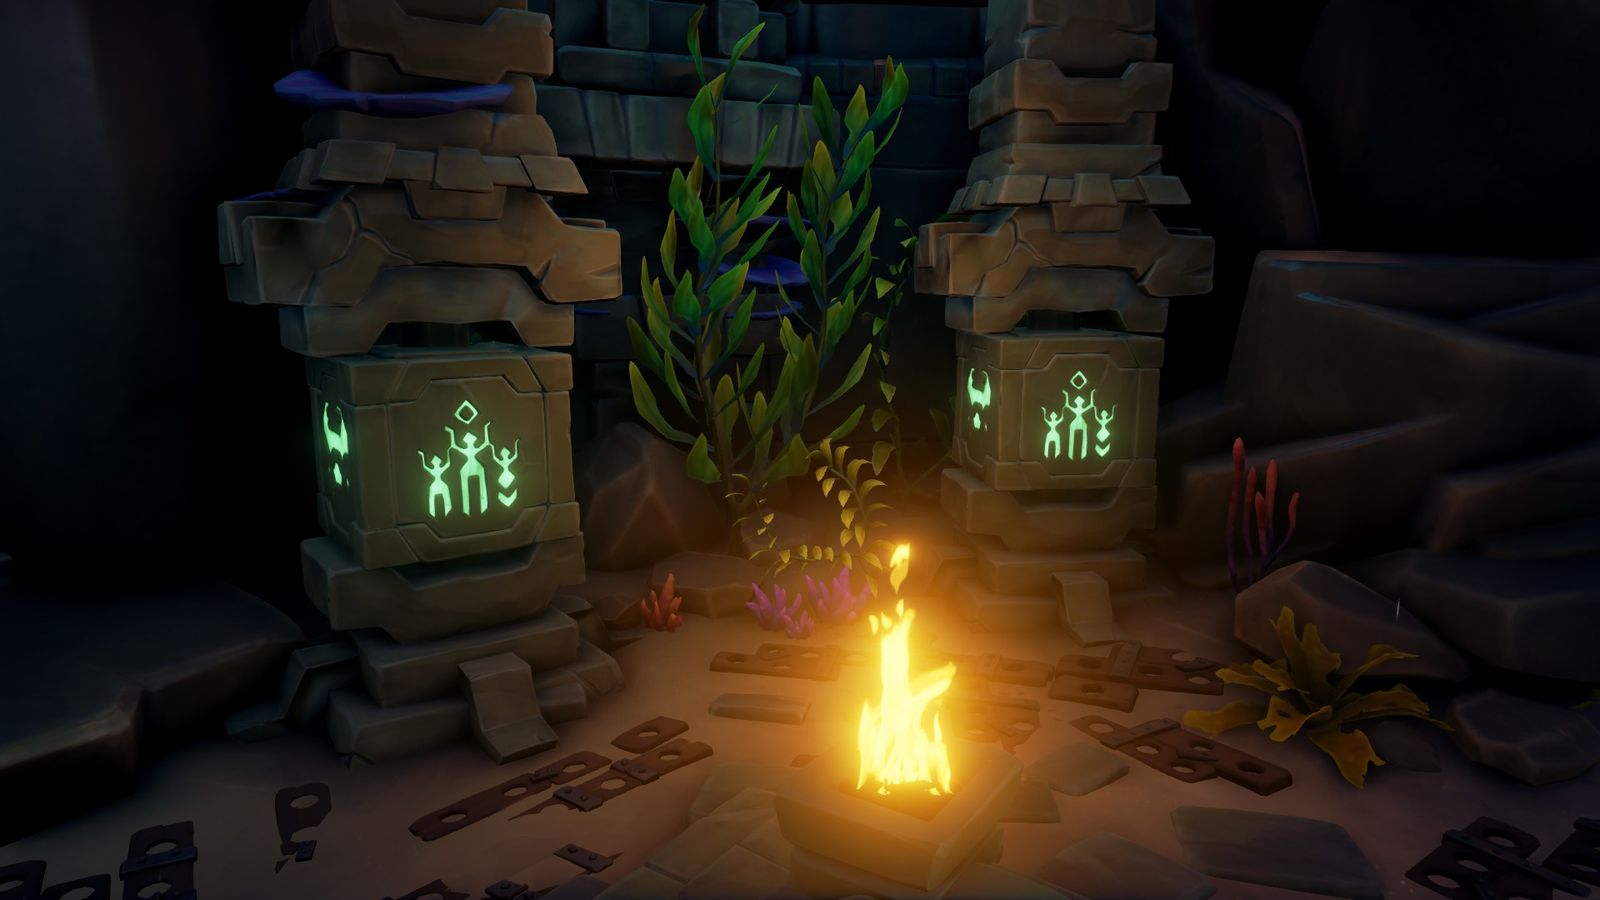
There are two symbols that are common in all four blocks: a snake and three worshippers. After you solve the puzzle, you will acquire the last medallion, the Kraken Medallion.
Carry the Medallions to the Compass Vault
Since you have acquired all four medallions, you will bring them to the compass vault to get the Gold Hoarder’s Coin. To find the Compass Vault, you need to travel to the center of the southern part of the island, and from there, you need to find the path up.
As you move north, you will find a wooden bridge. Cross it to reach the Compass Vault at the end of the path. You will then put all four medallions into the door.
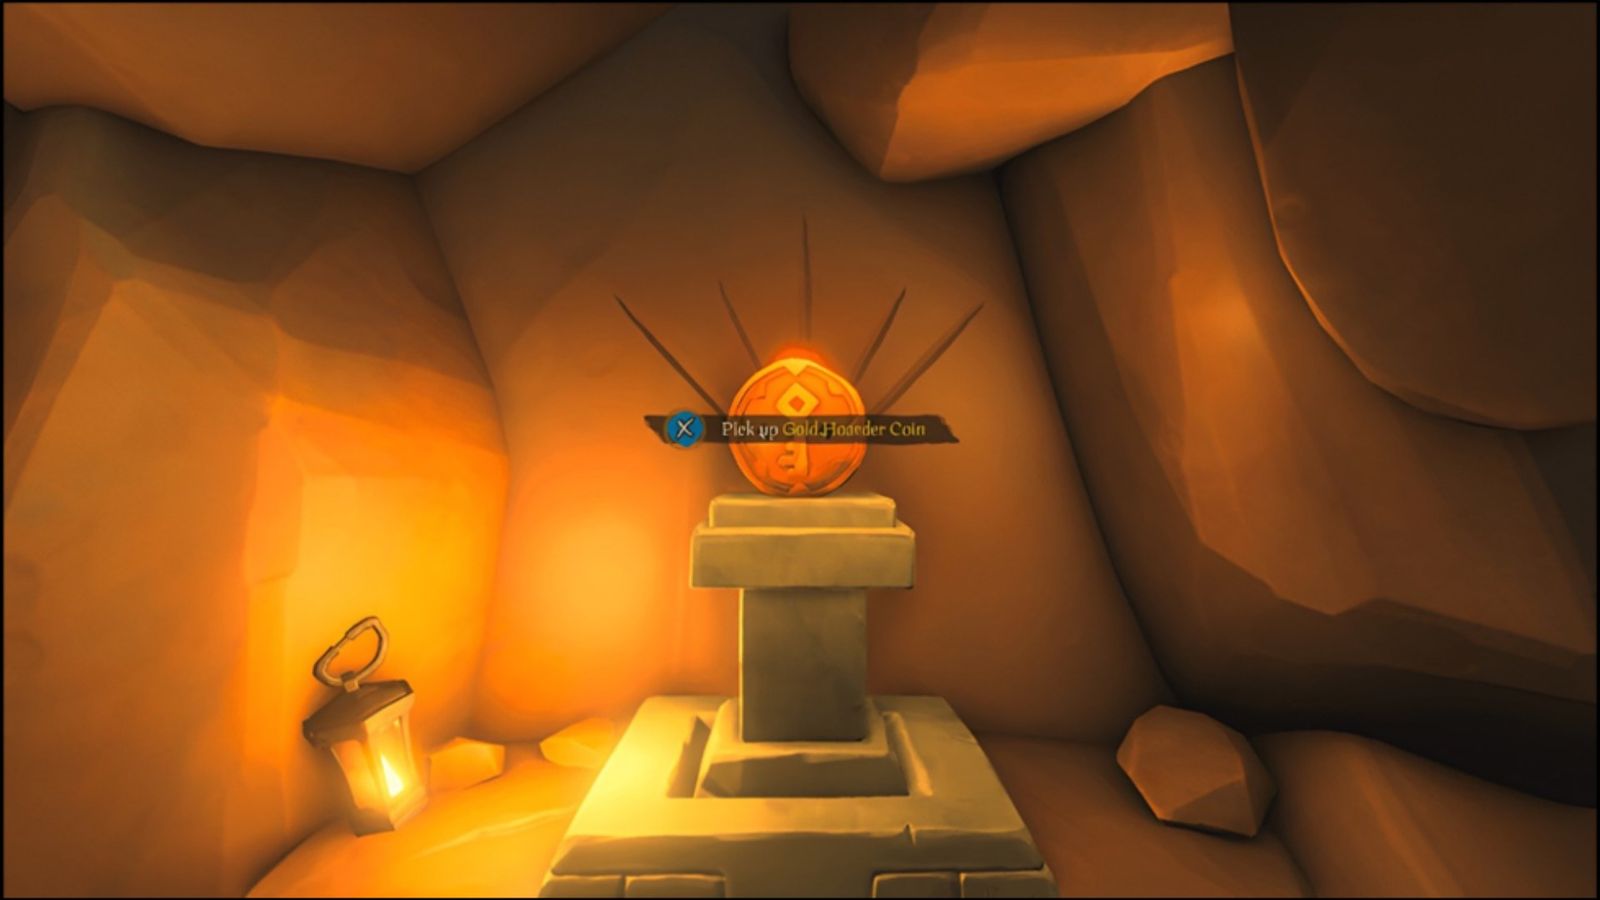
This will unlock the Gold Hoarder’s Coin.
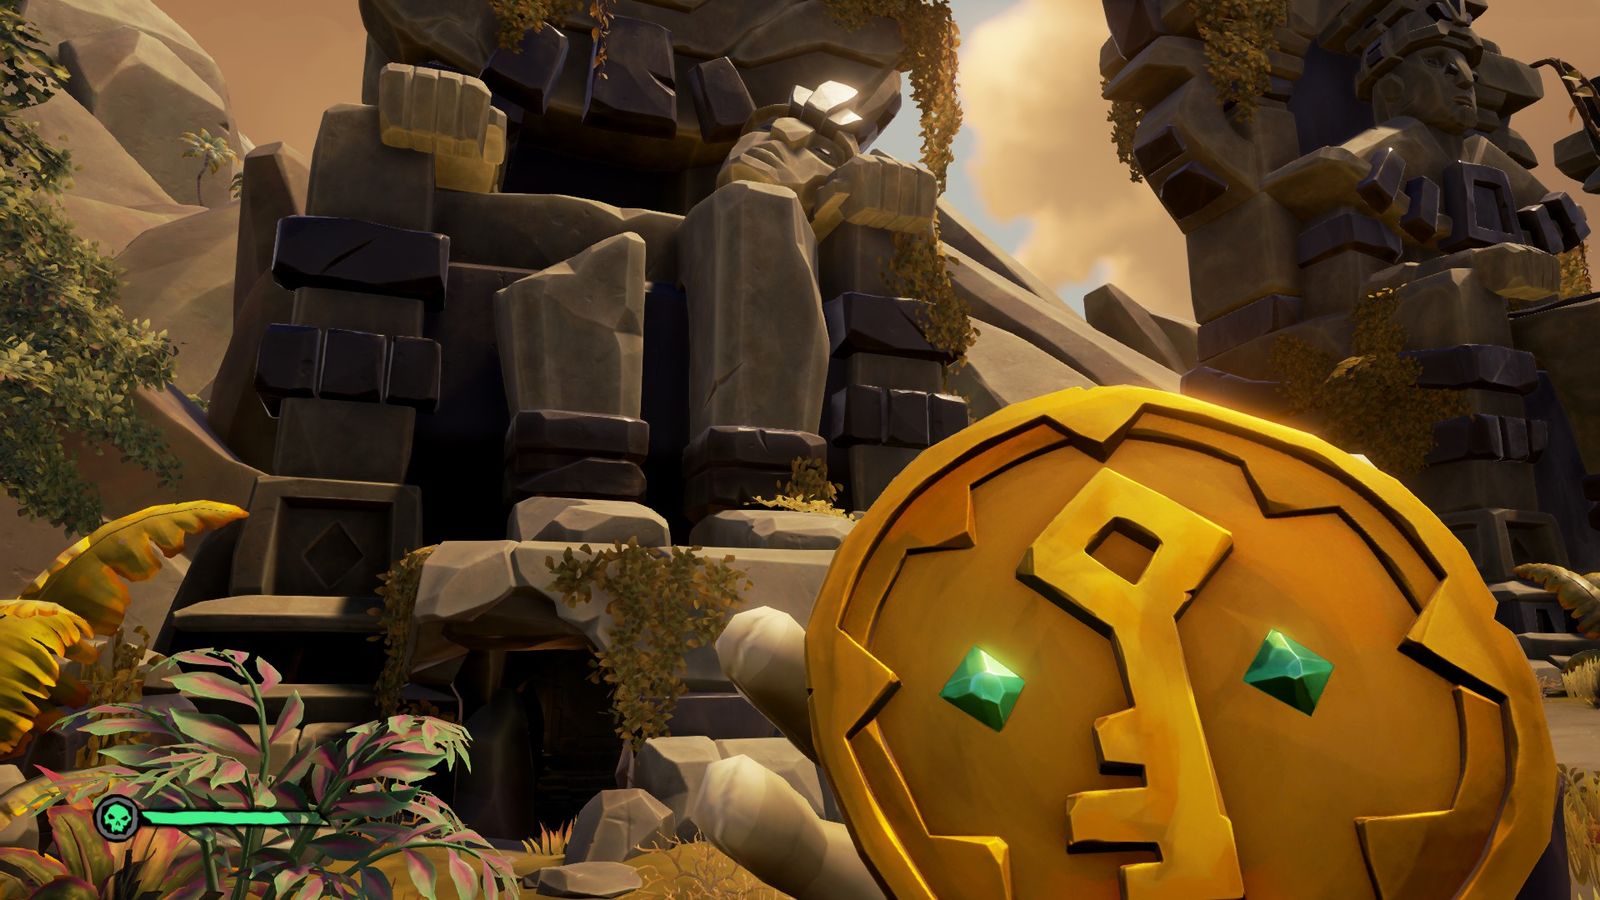
Path to Forsaken Fortune
To enter the belly, you will use the Gold Hoarder’s Coin. Bring the Gold Hoarder’s Coin to the northwest side of the island, where you will find multiple large ancient throne statues. Find the throne with the missing head, and bring your ship to the nearby bay.
Below the throne with the missing head are the tunnels leading to the belly of the island. Aim your ship’s canon such that you shoot yourself onto the headless throne.
When you land on the throne, you can fall into it and pull the lever to open the door leading back to the island. Now pick up the Gold Hoarder’s Coin from wherever you placed it. Go back to the same door you opened, and following the tunnel, unlock another door using Gold Hoarder’s Coin. This door will lead you straight to the belly.
Belly of Gold
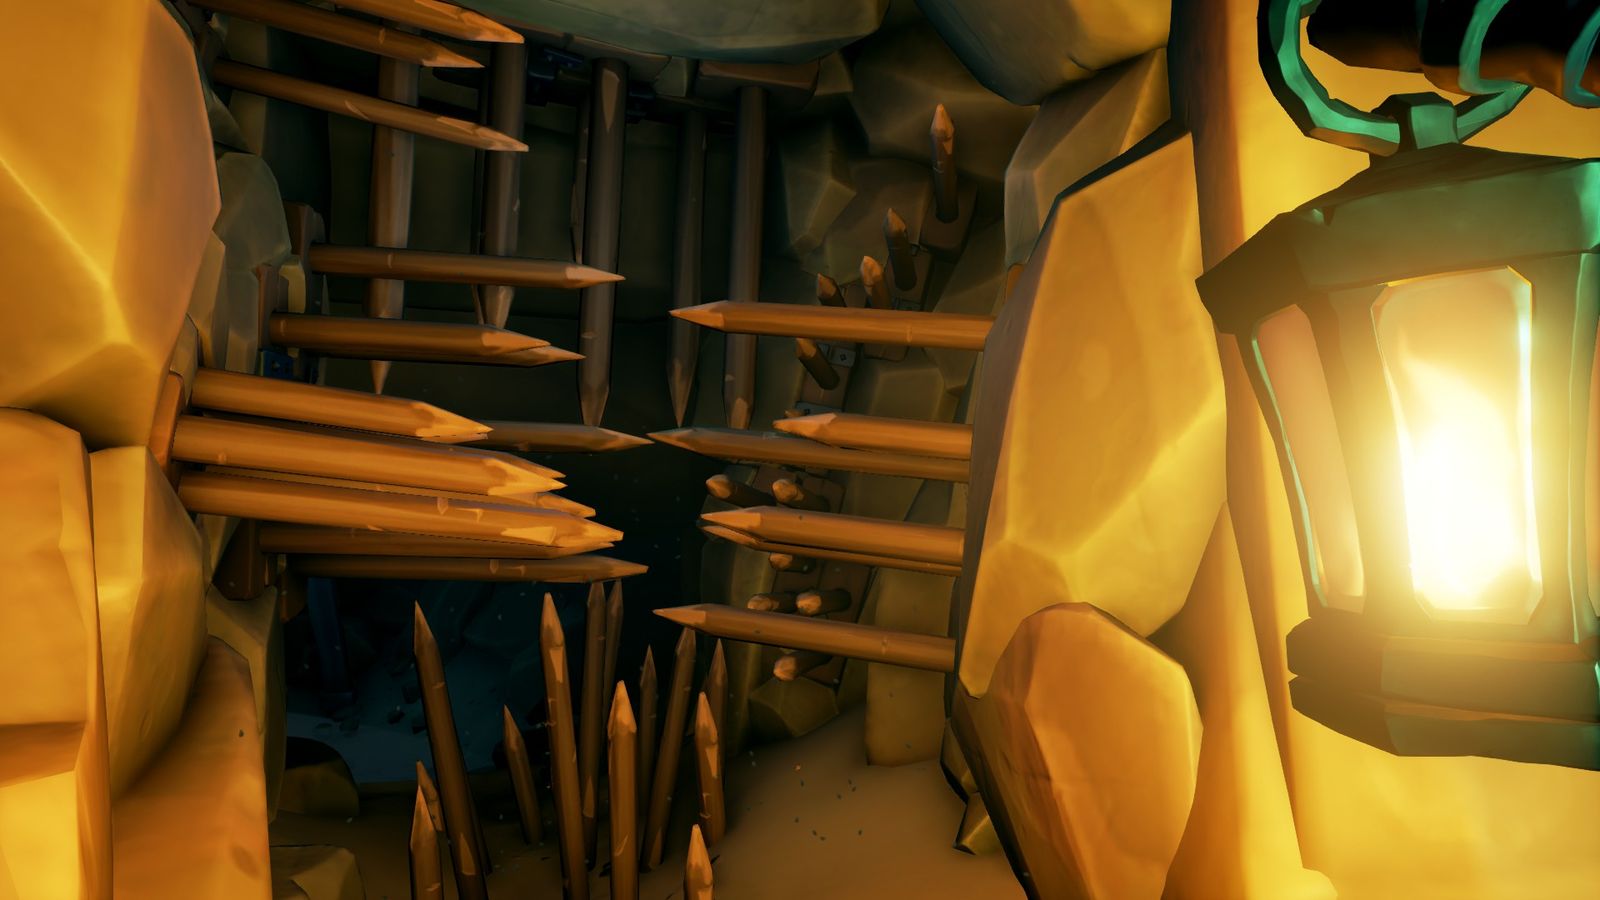
After you unlock this door, follow the descending stairs leading to a cave. Follow the path on the left, patiently moving through the walls filled with spike traps.
This will lead you to a dark chamber, where you will use your lantern to find and follow the path. Make your way through the traps and kill all the spawned skeletons. Then use the anchor to open up the door blocking your path.
Moving forward, you will enter a new chamber, but be careful and avoid the wooden traps on the floor, as they will activate spikes. Moving forward, you will use three levers to open another door, leading you to another anchor. Using the anchor, you will lower the bridge, leading you to the Gold Hoarder boss.
How to Defeat the Final Boss (Gold Hoarder)
Here comes the most difficult task of the Shores of Gold, fighting the Gold Hoarder. Fortunately, if you die, you will respawn at the beginning of the fight. Similar to Graymarrow and Briggsy, Gold Hoarder can use teleport, ray skeletons, and explosions. On the other hand, you have barrels to gather fruit from and ammo around the room, which will help you fight this long-lasting battle.
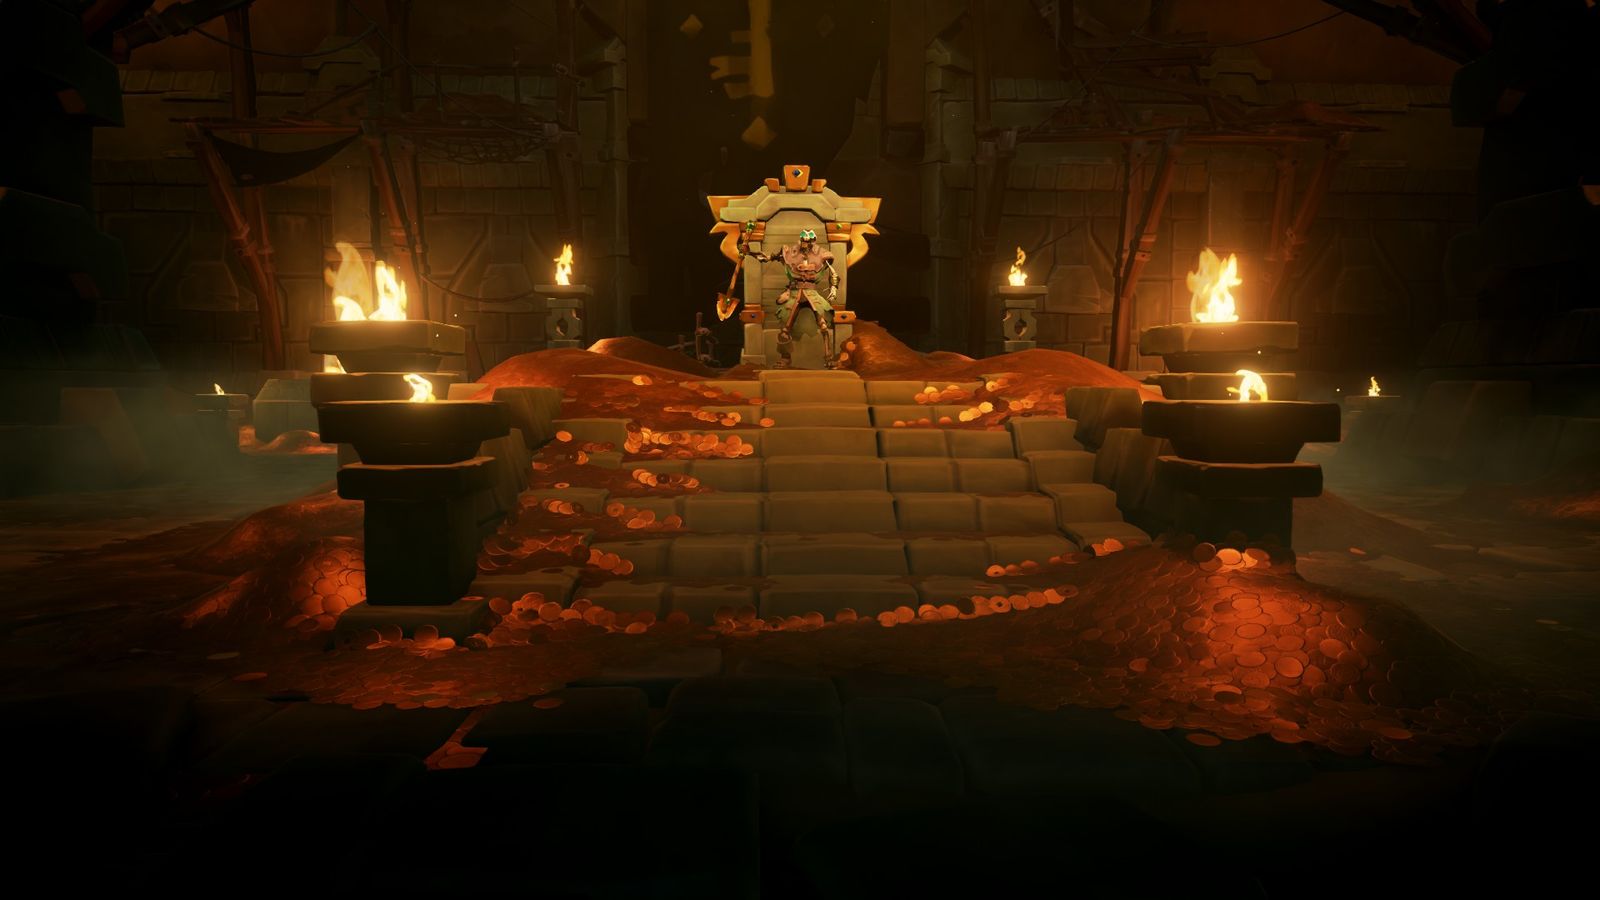
Once you defeat the Gold Hoarder, he will drop a skull, and the Pirate Lord will speak a few words to you. Additionally, you will earn 8,000 gold. Congratulations! You have completed the Shores of Gold Tall Tale.
Bonus: You can sell Gold Hoarder’s skull at an outpost at the order of souls for 10,000 gold.
If you are looking for more guides on Sea of Thieves, feel free to take a look at how to solve the Shroudbreaker Tall Tale in Sea of Thieves, how to get Curses in Sea of Thieves, and how to get Glitterbeard Set in Sea of Thieves
Explore new topics and discover content that's right for you!