


In Guilty Gear Strive, Nagoriyuki is one of the characters that doesn't have the complete set of mobility tools like the rest of the cast except Potemkin. Nevertheless, he is a great beginner pick for players who like hard-hitting and far reaching attacks in the game. Here's how you can play Nagoriyuki in Guilty Gear Strive.
Read More: Guilty Gear Strive Tier List
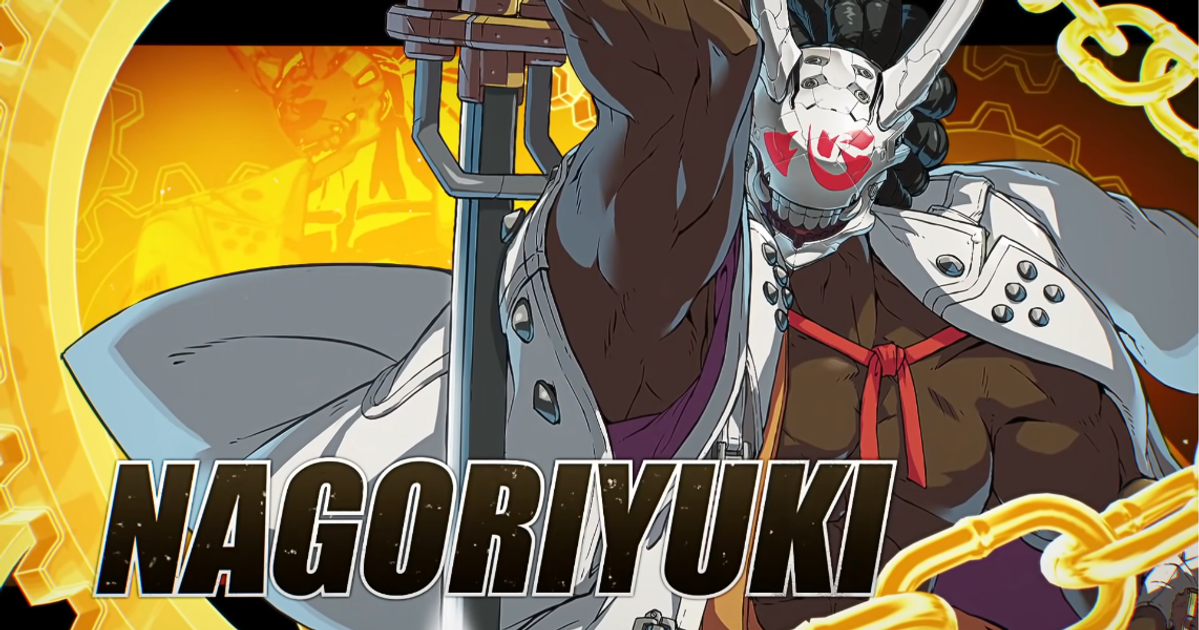
Who is Nagoriyuki In Guilty Gear Strive?
In Guilty Gear Strive's story, Nagoriyuki is an unwilling lackey to the main villains of the story. Through unknown magic, Nagoriyuki is forced to do the bidding of the main villains and is often tasked in fighting Sol Badguy. Even though he is seen fighting the main characters, he is mostly giving tips on how to defeat him as he fights them.
Playstyle-wise, Nagoriyuki does not have a traditional run and airdash option similar to Potemkin. Instead of grappling, Nagoriyuki has a large set of far-reaching and hard-hitting sword strikes to defeat his foes. Nagoriyuki also has a special resource called the Blood Gauge which could be filled to further extend his range and enter the Blood Rage state. This transformation breaks his mask and gives him increased range and a hard-hitting overdrive at the cost of rapidly draining his health.
For beginners, Nagoriyuki is solid pick if they wish to simply press buttons that immediately reaches the opponent easily.
Read more: Guilty Gear Strive Review: A Welcoming Fighting Game?
Nagoriyuki Move List
Unique to the cast, Nagoriyuki's special moves actually fill up his Blood Rage bar to make use of its buffs. Nagoriyuki also has a command dash special move that can be used to cancel some of his special moves on hit or block. Here's what he can do written in Numpad Notation:
- Zarameyuki - 236S
- Fukyo - 236K or 214K (can be used after special moves to reposition, can be held and press either left or right to control repeated teleports)
- Kamuriyuki - 214HS
- Shizuriyuki - 623HS
- Bloodsucking Universe - 623P
- Blood Rage (transform) - Automatically and uncontrollably happens when Blood Gauge becomes full.
- Wasureyuki (Overdrive Super) - 632146S
- Zansetsu (Overdrive Super, only available in Blood Rage) - 632146HS
Nagoriyuki Beginner Guide
For starters, it'll be best to understand Nagoriyuki's good Slash and Heavy Slash buttons first. Nagoriyuki's Far Slash has a built-in followups for up to two more Slash hits. Landing this move assures a hard knockdown and afford Nagoriyuki control of the match for a while. The combo sequence's massive range makes it easy to land this move and can be a beginner's main combo for a while until learning his other combos.
So far, Nagoriyuki's free movement tool is only his backdash as he doesn't have a run or airdash. Nevertheless, he doesn't have a problem with approaches due to his massive range that spans almost half a screen and his Fukyo command dash. However, spamming Fukyo to move is not advisable as it easily fills up the Blood Gauge to the max when more than three dashes are used.
Overall, aim to keep stopping foes dead in their tracks with your large range and it is a rewarding tactic as all of Nagoriyuki's Slash and Heavy Slashes deal alot of damage on one hit.
Nagoriyuki Tips To Improve
The key in playing Nagoriyuki effectively is maintaining the Blood Gauge while keeping your opponent away. The Blood Gauge increases every time Nagoriyuki uses one of his special moves and decreases it every time he lands a Slash, Heavy Slash or the Bloodsucking Universe command throw. At best, it is in the Nagoriyuki's interest to keep the Blood Gauge steady and not let it fill up to the max.
As of now, Nagoriyuki's Blood Rage is considered to be a bad situation due to massive health drain it does. When Blood Rage activates, Nagoriyuki's sword range is extended even further and has access to the hard-hitting Zansetsu super which deals more than 50% of the enemy's health on hit.
However, the Blood Rage mode rapidly drains 50% of Nagoriyuki's health. Nagoriyuki's opponents will use this against him and opt to land a long combo or even a throw to fully let him hurt himself during Blood Rage. Additionally, the Blood Rage transformation sequence is highly punishable as enemies can hit him as he stands up after his mask explodes.
Avoid activating Blood Rage at all costs unless you're planning for a high-risk setup to steal the round from your opponent.
On the other end, maintaining your Blood Gauge comes with a reward that it extends the range of your Slash attacks. Try to compare which Heavy Slash buttons are extended depending on how many bars of Blood Gauge you have filled. Knowing your range will be a big part of learning how to play Nagoriyuki well.
Nagoriyuki Combos
Due to his Fukyo command dash allowing him to cancel special moves, Nagoriyuki has access to long combo routes despite not having a traditional way to reposition himself. Here are some beginner combos that you can do as Nagoriyuki
- far S>5S>5S
- far S>5S>214HS>6HS
- far S>5S>623HS
- far S>5S>623HS (1hit)>236K>close S>far S>5S>5S (can cause wallsplat if reaches corner
- far S>5S>623HS (1hit)>236K>5K>6HS
- far S>5S>623HS (1hit)>236K>5K>632146S
- 5K>2K
- 5P>5P>6P
These combos may not hit as hard but it'll help beginner Nagoriyuki's establish some pressure and control the match's momentum when do get the hits.
Read more: Guilty Gear Strive Sol Badguy Guide: Beginners Tips, Move List & Best Combo
Explore new topics and discover content that's right for you!
Guilty Gear Strive