


The Zelda Tears of the Kingdom Orochium shrine can be a bit difficult if you don't fully use the game's mechanics. In this guide, we go over how to get through it and what you should know about the shrine's puzzles.
The Orochium shrine is one of many environmental challenges dotted around the world of Hyrule, but it's also one of the toughest. Therefore, we'll walk you through the solution you need to clear it.
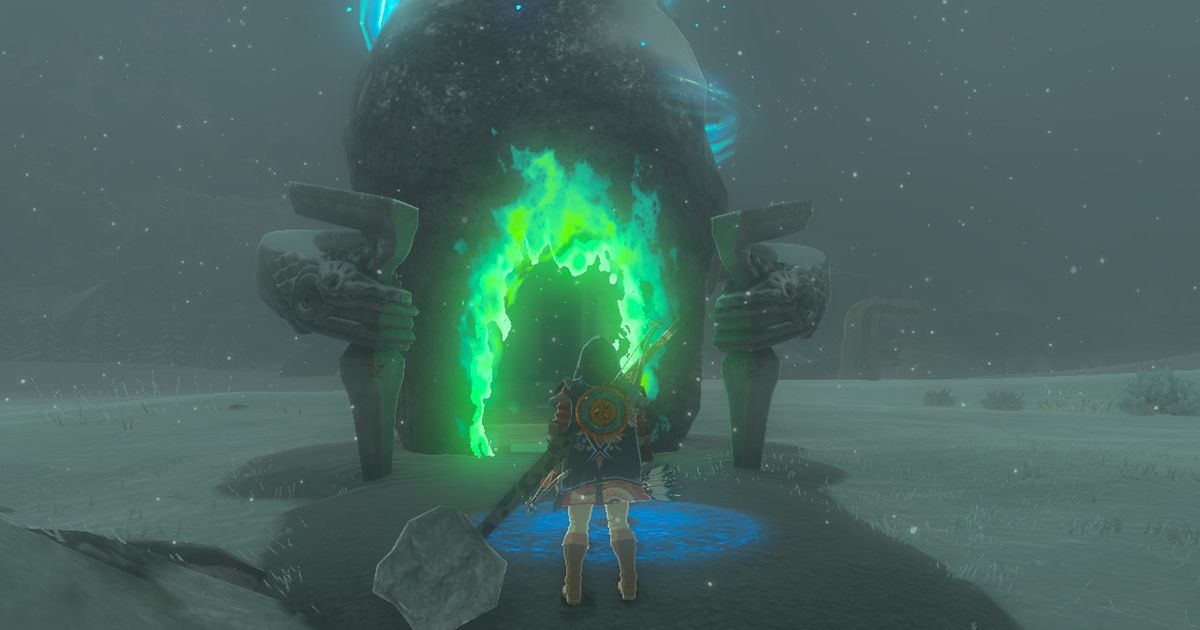
Zelda Tears of the Kingdom Orochium shrine solution
The Orochium Shrine can take quite some time to solve, given there are multiple steps. This stage is called "Courage to Fall" and that's a fitting name for it. Before you get in there, you want to have a strong bow on you. You will find arrows in the Shrine.


When you get in there, you will find a Soldier Construct lurking to the left. You can use the pillars to your advantage, shooting at it from cover. After this, keep going left and use Ascend to move up high to the next level.
You will then have a small opening you can crouch through. This will bring you past the lasers you could find at the very start of the quest, allowing you to move on to the next part.
- Read more: Best recipes in Zelda Tears of the Kingdom
From here, drop down the chasm to your right. You will need to kill a Soldier Construct with your bow, before using Ultrahand to open a set of double doors. There's a set of the lasers that appear, which will send you catapulting downwards if you touch them. You'll want to do that and travel to the other side of the hallway beneath. You can then use Ascend to get to a chest with a Small Key in it.
Once you've got the key, Ascend again and head back to those double doors. From here, kill the two other Soldier Constructs in that room. Then use the key to open the green cage and grab the metal ball.

Then, simply pick up the ball and go on the floating platform near further on past the cage. You can then simply put the ball into a hole to get out a makeshift glider with fans attached. Pop the ball on that plane and use it to fly back to the shrine's entrance.

Lastly, take the ball and place it in the hole by the entrance, and the Orochium shrine will be solved! As usual, you'll be granted another Light of Blessing to use towards increasing your max HP.
Now that you know how this shrine works, you may be looking for more information on the game. If so, here is how to use batteries in Zelda Tears of the Kingdom and how to throw items in Zelda Tears of the Kingdom. As well as this, check out our Tears of the Kingdom guides hub.
Explore new topics and discover content that's right for you!