


If you don't happen to go off the beaten track, the first dungeon you'll come across is the Legend of Zelda Tears of the Kingdom Wind Temple. Nestled high in the sky above the mountainous region surrounding Rito Village, the monster within the gargantuan cloud is causing a blizzard that just won't let up.
Putting an end to the Rito people's plight means kick-starting five turbines keeping the climate-controlling monstrosity caged inside the ship at the centre of the snow cloud. If you're struggling to find and reach all five, we've broken them down into easy-to-read sections.
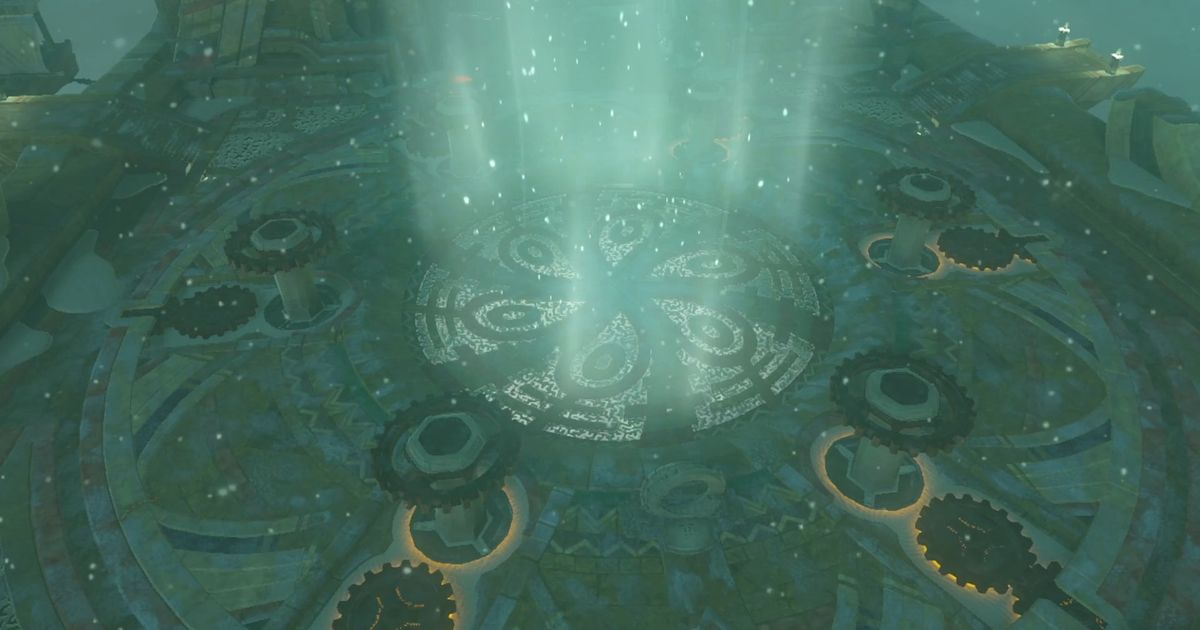
How to reach the Wind Temple in Tears of the Kingdom
You'll start making your way up to the Wind Temple in The Legend of Zelda: Tears of the Kingdom as soon as you reach Rito Village. Currently enduring a relentless blizzard, you meet the young Tulin who, frustrated by living under his father, Teba's, shadow, goes off on an expedition into the mountains.
Upon helping Tulin retrieve his bow, you accompany the young Rito warrior in a quest to quell the storm emanating from the gargantuan cloud above the village. By using Tulin's gust technique to climb higher into the sky, you eventally dive through the top side of the cloud, discovering the Wind Temple within.
Tears of the Kingdom Wind Temple guide - All turbine locations
The Wind Temple consists of three main floors - the visible surface, the lower decks, and the underside. Your mission is to restart the five wind generators that control the central hatch's mechanism. You can tackle these in virtually any order, but you'll want to open the few optional chests dotted around the place for some helpful loot, too.
First turbine
For the first one, we're going to dive off the west side of the temple. Use Tulin's Gust to reach the distant platform with the lights on either side. Grab the Large Zonaite from the chest and glide your way to the window left of the cannon that's likely aiming at you right now.


Use Gust again to get there. If you don't feel comfortable with the distance, aim for the smaller ship just before it and use its sail as a springboard for another attempt.
Once inside, head left and take on the enemy to gain some nice supplies. Crouch and jump your way through the lasers for a Ruby you can sell later. Head in the opposite direction and melt the small ice block to gain a Timb Bomb and Cooking Pot.

Next, climb the giant window platform you came through and turn back toward the corridor. Glide across the icey hole right down the corridor. With a jump, glide, and gust, you'll just make it.
Use Ultrahand to pull the lever here, opening up the closed hatch for a quicker return in the future. Use Ascend in this collapsed room to climb to the floor above.

Head down the left corridor and Ultrahand again to fuse some of the loose debris to the pole coming down from the ceiling. This will give Tulin a surface to use Gust against, causing the whole assembly to rotate and open the door at the top of the ladder.
Climb up to find the first turbine. Use Gust again to get it running.
Second turbine
Exit the gate opened from the first turbine back onto the deck of the Wind Temple. Ride the wind from the centre and glide you way over to the highest point - a frosty-looking main mast.

Use Ultrahand to open either side of the hatch. Look before you leap and quickly deploy and retract your glider to make it through the lasers. Look out for the second opening against the walls to easily find the second turbine. Again, use Gust against it to make it spin up.
Head a little further down to spot a chest containing a Soldier Blade and ride the wind back up to the surface.
Third turbine
For this one, you're going to want to dive off the east side of the ship. Just like the last dive away from the temple, head to the floating platform first to score a Strong Construct Bow.

Now either use the small ship between you and the frozen entrance ahead to bounce up and launch a Fire Arrow or Bomb Arrow at the icicles, or just land close by them and use anything equipped with a Flame Emitter to melt a hole you can pass through. At a push, the usual Wood and Flint method of making a fire (or torch) will work, too.
Once inside here, take a right and use Recall to spin the wheel the opposite way. Hop on and ride it to the other side. Use Ultrahand to pull the lever for easier return access. You won't need it, but it's fun.

Next, all you need to do is use an arrow to dislodge one of the icicles above you. Use Ultrahand to grab and adhere it where the missing cog should be. This will cause the cogs spinning on the left to spin the cogs closest to the door, completing the mechanism and opening it up and giving you access to the third turbine.
Fourth turbine
The fourth turbine is a little tricky to reach. It's found on the underside of the temple, requiring you to (yet again) dive off the side of the floating fortress and ride the winds.

You can do this from either side. Just follow the smaller boats around the perimeter until you reach a point where you can see the underside above you. Bounce up on a boat and glide across, using Gust to get you there.
And that's it for this one. You'll see the turbine as soon as you enter. Just use Gust again to get it spinning, and you'll be all set. Gust again across the broken path to emerge in B1 and head back out through the open window. Get back to the surface for the final turbine.
Fifth turbine
The fifth and final turbine is incredibly straightforward. It was the first one I got personally, but for the sake of being right next to the door when it finally opens, I figured it was best to send you down another route.
Once you're at the surface, just head north until you spot two locked doors either side of you, with a main transparent fence dead ahead. Use Ultrahand to turn the level on your left and head inside to find a chest.

Exit the room and Ultrahand the nearby icicle onto the broken lever to the right of the door ahead. This will give you enough surface area on the lever to Ultrahand it open, revealing the final turbine inside.
Cast Gust one final time to light up the fifth beacon, with the completed mechanism now cranking the central hatch open. Get ready to face the boss, and check out our guide to Colgera if you're struggling.
Explore new topics and discover content that's right for you!