


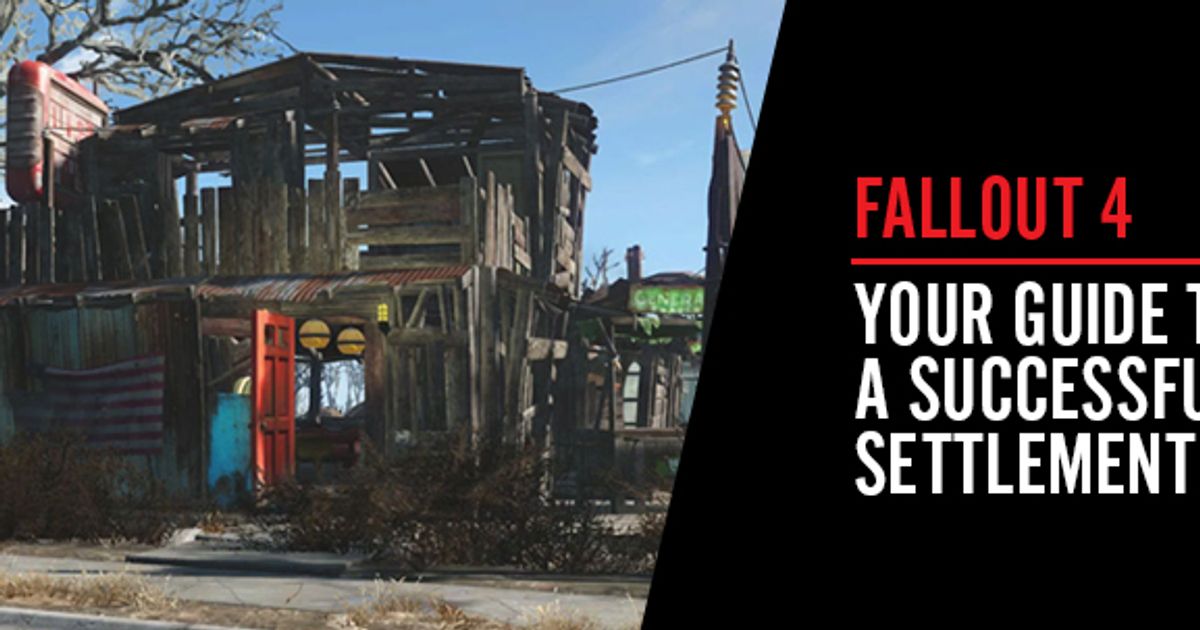

The implementation of survivor settlements in Fallout 4 has revolutionised the iconic series.
However, the amount of countless options within Fallout 4 can often leave you feeling overwhelmed at times, so here’s a guide to help you make the most out of your new communities.
And in case you’re wondering, yes, you will want to build these communities and make them thrive. You will receive much needed XP from crafting, and a thriving community also brings trade.
To begin, enter your Workspace Mode in your community, and you’ll have a bar at the top of your screen which shows various tabs.
People:
The first tab, ‘People’, may be one which is fairly self-explanatory but it’s equally important. Your new survivor settlement will need some inhabitants, who you will be able to find and recruit across the wasteland. Alternatively, for those of you who have the required parts, you can also craft a Recruitment Radio Beacon.
Food:
Food is also a no-brainer. You can find the food plants you’ve acquired on your adventures listed under the ‘Resources’ section of your Workshop. Fence in a nice garden area, plant some crops and assign a settler to manage the garden. Simply highlight the command option on the settler while in the Workshop Mode and assign them.
Each food item you plant also shows you the amount of food value it can provide. So, if you have 8 people in your community, make sure you plant enough crops to facilitate that.
Mutfruit produces 1 food per harvest while others like Corn, Carrots, and Melons only gives 0.5 food per harvest. Mutfruit is a great option, but you will still probably want to plant a variety for crafting and cooking options.
Also, top tip, as Corn seems to grow over a much longer period of time, you will want to plant it ASAP and ensure you harvest the plant for yourself. Combined with Tato, Mutfruit, and Purified Water, Corn will help you craft Vegetable Starch which makes a great substitute for adhesive.
Water:
Water is the next item on your meter, and it’s pretty simple to acquire. Under your ‘Resources’ section, find the Water Pump and set some down. You’ll probably only need one or two until your community grows.
A Water Purifier is also an option if the settlement’s area has access to a natural water supply. Simply plop the purifier down into a bed of water, and then add the power of a generator.
Power:
However, power is a luxury that all of my settlements have not yet received. Smaller farms of one or two people have all of the required needs except for power – and that’s okay! For your larger communities, you’ll want to set up generators for various needs. Power also seems to be the trickiest of all the settlement needs, and there’s no tutorial for it, so I’ll do my best to explain what I have learned.
You can attach one wire directly to an item from the generator itself, simply by highlighting the generator, choosing the attach wire option (which is Triangle for PS4 users) and then highlighting and clicking the desired object such as a Recruitment Beacon.
If you’ve tried and failed to hook up multiple items, it’s because you can’t simply attach a bunch of wires directly off the generator itself. For multiple connections you’ll need a Power Pylon. For my ‘Sanctuary’ rec room, I added a TV, radio, and jukebox. To give these items life, I placed my medium Generator outside one of the windows, placed a Switched Power Pylon, and then connected the items to the pylon.
Attach a Power Conduit to your wall, roof, or floor and then connect that to a generator or Powered Pylon so you can illuminate multiple lightbulbs on one surface.
There are many other power options which seem to include traps and switches that I’ve not had the opportunity to explore, but this guide will provide you with the basics you need to power and bring new settlers to your settlements.
Defence:
Defence will also play a big role in your settlement’s survival. Guard posts are a great place to start, especially if your camp is still pretty small. Place a guard tower or two and assign settlers to man the posts. You’ll also want to make sure you have adequate fencing around the perimeter of your settlement. If you have the needed supplies, you can also build traps and turrets. I saved these for my larger settlements, as some of the parts were in short supply.
Beds:
Beds are one of the easiest items on the list. Simply make sure you have enough beds for all your settlers, and place a few extra beds in case of new arrivals.
Happiness:
Happiness seems like a luxury in the Fallout wasteland, but it’s good for your settlers to have high morale. Make sure the settlement stats stay in the green, (the stats will show in red if a camp is low on any necessities) and add some extra items to keep them happy. Place a basketball goal, power up a jukebox, or perhaps decorate their homes with kitten paintings.
Everyone loves cute kitten paintings.
Size:
The size meter will fill up as you reach your settlement’s maximum capacity for items. Be sure to scrap any unnecessary junk if the meter nears a full status. Those rusty old mailboxes and broken street lights don’t have any use other than scrap parts.
Just remember, your settlement camps will continue to grow while you’re out scavenging and fighting off those pesky Raiders. This also means you’ll need to check in on your settlements regularly. New settlers will join your community, taking up spare beds, and vital food and water counts.
Settlements are also at risk of attack, no matter how well defended they might seem. You’ll receive notifications about camps under attack, so try to respond as soon as possible or your people will be at risk. I’ve had settlements of 2-4 people overran by Super Mutants and die before I could kill all of my enemies and fast travel to the camp.
Also, don’t forget to inspect your camp, regardless of the outcome of an attack. Super Mutants can destroy your fence, stomp on and destroy your crops, and turrets can become disabled.
Keep your camps free of baddies and always ensure your stats are in the green!
Keep up to date with all the latest gaming and eSports news via our Twitter: @Gfinity.
Explore new topics and discover content that's right for you!
Gaming News