


Spells are a powerful aspect of player combat in Death’s Door, enabling players to fight at range, control the battlefield and even kill multiple enemies in a single move. But spells can be upgraded and made more powerful - so we’ll show you where to find all spell upgrade locations in our guide below.
Read More: Death’s Door Review
All Spell Upgrade Locations in Death’s Door
To upgrade and power-up your spells in Death’s Door, players have to find the locations of several hidden mini-boss fights that each power up one of the game’s four magic spells, usually by adding a secondary effect or quality to the spell that makes it more viable in combat situations. We’ve outlined where to find them below as well as what the new effects are.
Upgraded Spell List
- Bow and Arrow: Hold down the spell button charges the arrow for extra damage
- Fireball: Adds burning effect to enemies that damages them over time
- Bomb: Spell no longer damages the player, making it safe to use at short distances
- Hookshot: Allows players to sword swing while using the hookshot for high damage
Bow and Arrow Spell Upgrade Location
- Requires: Bow, Fireball, Hookshot, Bomb
- Location: Lost Cemetery
You can upgrade the spells in any order, but we’ll start with the bow, as the one players are likely most used to. To find the upgrade location, head to the Lost Cemetery Door and take the following instructions:


- Head to the building and through the door just South (bottom-right) from the starting Door.
- Inside is a web. Burn it with a Fireball and drop down through the hole behind it.
- The room beyond is full of shrubs that turn into insects when damaged. Cut through them to reach the stairs to the higher level, then walk head to the top of the room and walk along the wood bridge until you can shoot the brazier with a fireball.
- Head into the next room and do the same thing to the distant brazier across from you.
- Continue through the gate to fight more bugs, ending with a giant one covered in miniature foes.
- Head left afterwards to light another brazier and open up the next gate.
- The next room has two torches that have to be lit with fireballs within a couple of seconds of each other. Blow up the wall that blocks off one with a bomb, then use the Hookshot to rapidly cross the room and light them both.
- Head into the next room to fight the minotaur knight mini boss. Check below to see how to beat it.
Fireball Spell Upgrade Location
- Requires: Fireball
- Location: Mausoleum
The Fireball upgrade can be obtained fairly early in the game, but the boss fight required to beat it is still difficult (though by no means impossible). To get to that fight and the upgrade, follow these steps:

- Head to the Mausoleum next to the Estate of the Urn Witch and find the left-most room with a doorway blocked by another spider web.
- Head through the path beyond to a doorway with the Fireball symbol above it. Step through it to confront the mini-boss.
Bomb Spell Upgrade Location
- Requires: Hookshot, Bomb
- Location: Lost Cemetery
This one can only be accessed in the final stages of the game because of the spell requirements, but can still make a big difference against the final bosses. Try and get it before going to the very end.

- Head to the East side of the Lost Cemetery, specifically to the dead tree with the rope tied around that descends to the Overgrown Ruins.
- Rather than take the elevator down in that direction, walk North up the path and climb the ladder to the bride.
- Follow that bridge West and drop down in the gap in the rail halfway along.
- Use the bomb to blow up the broken wall at the top end of the green field.
- Head inside to find the minotaur knight mini-boss.
Hookshot Spell Upgrade Location
- Requires: Hookshot
- Location: Lost Cemetery
The Hookshot isn’t used as much in combat, but the upgrade can make it a viable battle spell to integrate into your general arsenal. Check out where to find it here.

- Head to the cave system that connects to the Lost Cemetery with the Stranded Sailor on its West side.
- At the lower level is a pool you can Hookshot over. Do so and pull the lever.
- This will open a secret gate in the wall across from you.
- Head through the gate to find the boss fight.
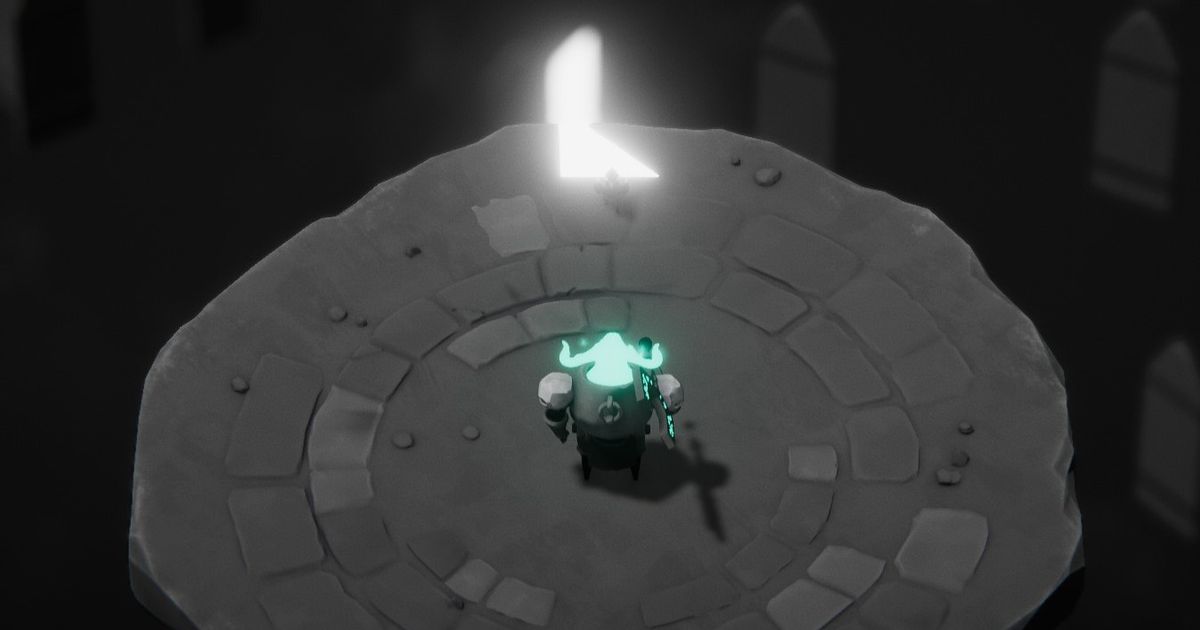
How to Beat the Spell Upgrade Minotaur Knight Bosses
Each spell upgrade is locked behind a minotaur knight mini-boss, who fight similarly but with some distinctions in special moves that reflect the spells they guard. Here’s a general understanding of what you’re dealing with when it comes to these bosses, enough for you to make a solid strategy and know how to fight.
- Make sure you’ve got full health when you go in.
- The minotaurs have more close-ranged attacks and excel at melee. Their ranged attacks tend to be easier to deal with.
- Their speed means that you want either the Rogue Daggers or Greatsword equipped. Either get those fast slashes in when you can, or pick your moment for a single high-power attack.
- Use your own spells to make use of safe distance wherever you can.
- Whenever you’re enveloped by a magic circle, hit the dodge button rapidly to break free and get back to normal speed.
- Ironically, the special moves that each boss has tend to be the most telegraphed, though they usually move out of melee access. Hit them with some ranged spells, than be ready to dodge whatever they throw at you.

Looking for more Death’s Door advice and tips? Check out how to get all weapons in Death’s Door, or find out how to solve the mysterious Family Tomb pot puzzle!
Explore new topics and discover content that's right for you!