


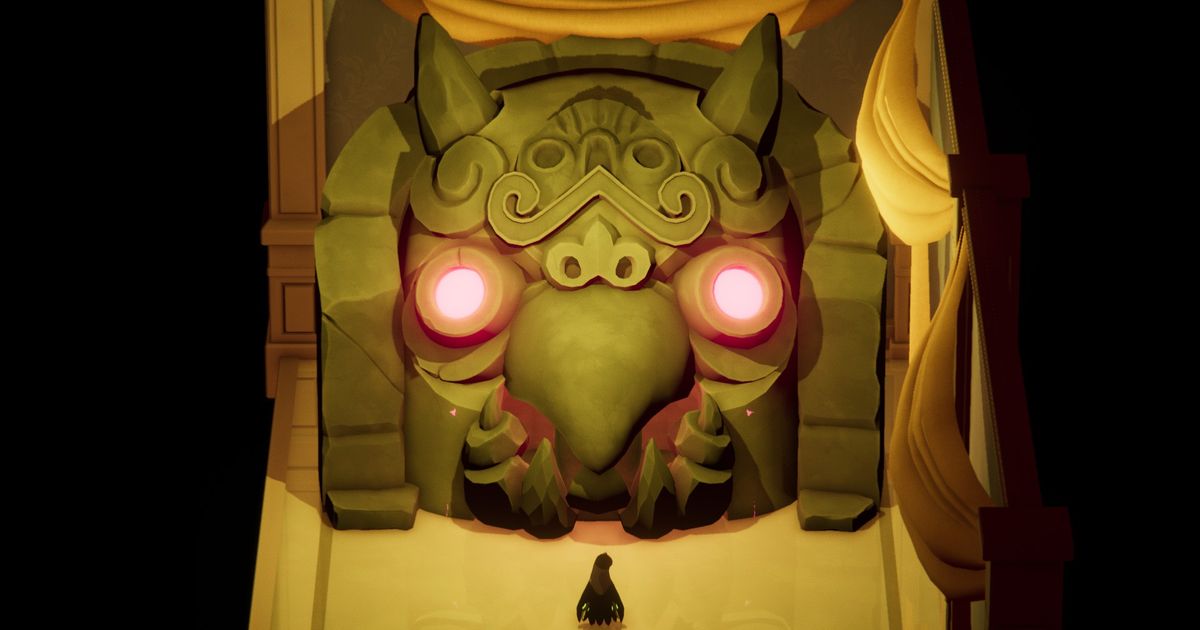

Death’s Door contains numerous bird-faced shrines hidden around the game that allow players to boost their magic and vitality, increasing their health and spell use as a result. We’ll lay out how to find all shrine locations and where you can find them in our guide below.
Read More: Death’s Door Secret Ending
How to Find All Shrine Locations in Death’s Door
There are numerous Shrine Locations in Death’s Door, eight that improve your vitality (health bar) and eight that improve your magic (the number of shots you can fire with your spells), for a total of 16 Shrines across the entire game.
Each shrine you find will give you a crystal corresponding to one of those two stats - however, you need four crystals before that stat is increased by one. This means that if you find all 16 shrines, your magic and health will each get an increase of two segments.

All Vitality Shrine Locations
There are eight vitality shrines hidden around Death’s Door. We’ve listed them below, as well as what you’ll need to get them:
- Lost Cemetery: Take the South path from the starting door around until you reach an elevator going down with a bombable wall at the base. Head left behind the elevator to find a ladder dropping down to the shrine itself.
- Lost Cemetery (Requires Hookshot): Go through the Grove of Spirits to the door leading into the Lost Cemetary itself, then use the Hookshot to cross the gap to the North. Follow the path up there to the Shrine.
- Estate of the Urn Witch (Requires Fireball): Head Southeast from the Ceramic Manor until you find the four-section arena where you fought waves of enemies a little after the Black Iron Knight. Light the four pots with the Fireball to summon a bridge leading to an island with the shrine in a hole in the middle.
- Urn Witch’s Laboratory (Requires Bow): From the Inner Furnace Door, head back into the Laboratory to see a square platform with Bull Platform docking points. Shoot the arrow Northeast from there to summon the Bull, then ride it back the way it came to reach the Shrine.
- Overgrown Ruins: From the Village in Overgrown Ruins head Northeast until you see a swerve above you, then go West until you find a grate you can enter. Follow the path down there until you find the Shrine.
- Mushroom Dungeon (Requires Bomb): Head to the flooded room where waves of enemies attacked you and use a bomb to destroy the wall to the North. Use the fireball to light the braziers inside and the new shrine will reveal itself.
- Stranded Sailor (Requires Hookshot): From the Stranded Sailor Door, go Northwest to the docks and Hookshot over them. There’ll be numerous enemies who attack; beat them to open a door North and to the Shrine.
- Village of the Crows: From the Old Watchtower Door, head back into the Village of the Crows through the elevator and down until you see a sign directing you to the “Frozen Canyon.” Follow it, and you’ll get a timed obstacle course. Complete that to access the final shrine.
All Magic Shrine Locations
There are another eight shrines that allow you to boost your magic. As above, we’ve laid them out for you here.
- Lost Cemetery (Requires Bomb): Head to the Northwest part of the Cemetery before the caves that lead to the Stranded Sailor. The path leading up to that breaks off to the left; follow that down to find a breakable wall. Bomb it to get the first Magic Shrine.
- Estate of the Urn Witch: From the Ceramic Manor’s front door go West until you find a single tree. There’ll be a gap in the bushes North of it, go through there and around to find the Shrine.
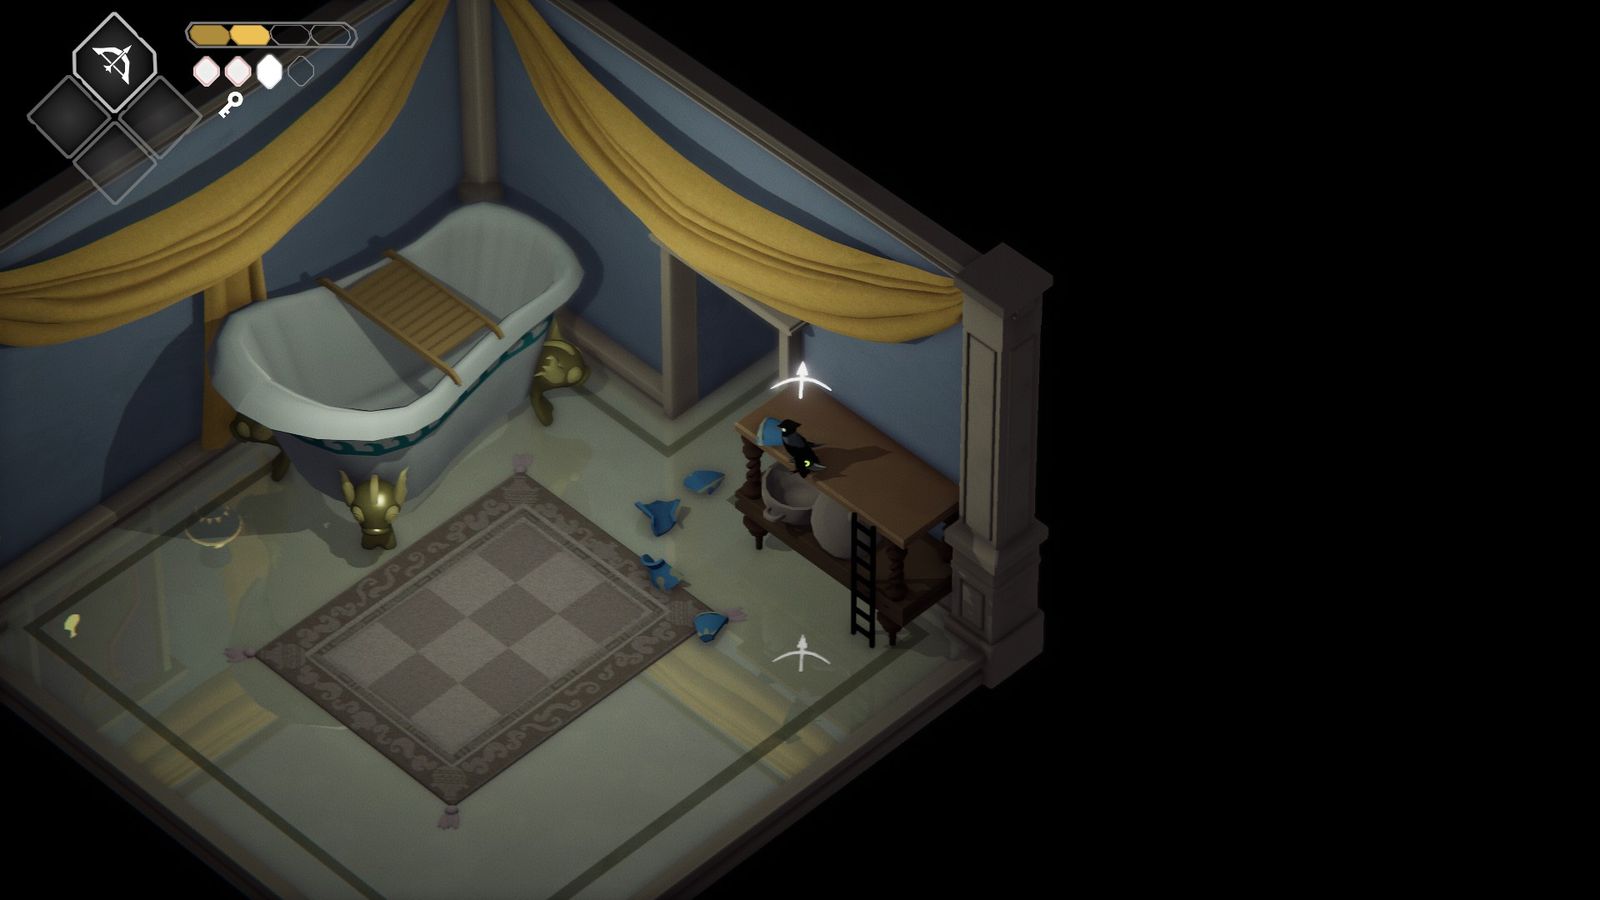
- Ceramic Manor: In the North section of the Manor is a bathroom with two invisible pots of the kind you’ve been breaking to unlock doors. You can tell where they are because their reflections are visible on the tiled floor: smash them to open up a door to the Shrine.
- Overgrown Ruin (Requires Hookshot): Head back to the starting area of the Overgrown Ruin where you first sailed in, and look to the top-left to see a Hookshot point. Cross over and kill the enemy waves to open the Shrine.
- Overgrown Ruin: Go to the village and head West to the very edge, where there’ll be a small gap in the wall. Drop down to find the Shrine hidden away.
- Flooded Fortress (Requires Bow): At the moving platforms at the start of the Fortress area there’s a stone doorway to the Northwest. Shoot an arrow through it to spawn more platforms, and cross those to find the Shrine.
- Stranded Sailor: Head through the door and go West up the stairs, following the path to a stone tower. Use your sword to break the ice blocking the way, and go round the back to find a ladder dropping down. From this platform, drop from there and use a mid-air attack to smash down on the sewer cover and go through. Follow the pipe to the next Shrine.
- Castle Lockstone: Go West from the Door to the open room with a ladder blocked by ice. Break the ice and keep going West, then loop down and around to a room filled with Hookshot points. Above the one just across from you is a hole in the wall in the shape of a key - go into there and pull the lever to open a gate across the room. Hookshot over to find the final Shrine.
From there you should have everything you need to know to boost your stats in Death’s Door! For more info, check out how to beat the Giant Mouth Statue here, or how to beat the Demonic Forest Spirit boss fight!
Explore new topics and discover content that's right for you!