


The FR 5.56 has recovered from its time in the sun after a frustrating shotgun glitch saw it receive plenty of criticism within Warzone. Now that the meta has shifted, there is a small chance of the rifle making a return to the top of the meta as Season 1 of Warzone Pacific gets underway.
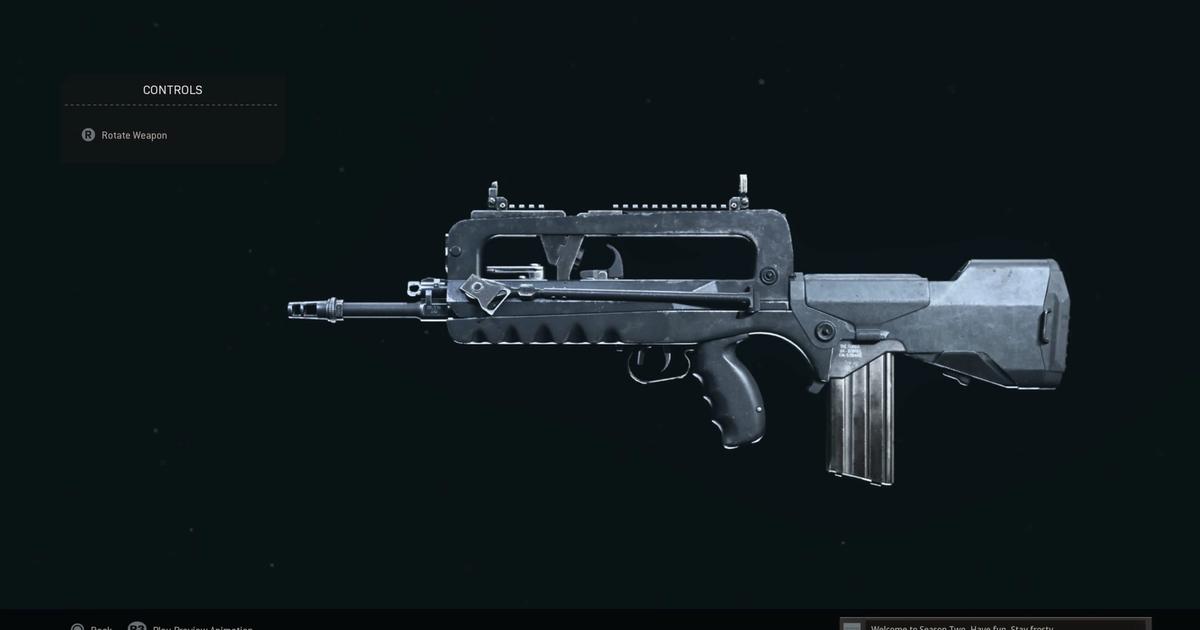
Resembling the popular FAMAS Assault Rifle from Modern Warfare 2, the FR 5.56 burst rifle has very similar characteristics to its predecessor in Modern Warfare.
Offering a precise three-round burst, the FR takes down enemies easily in two bursts and is a good weapon to choose if you're looking for an alternative to the usual Warzone assault rifles that feature in the loadouts of players.
Selecting the right attachments to suit your style of play is important to get the best from this particular AR. Here are three unique loadouts and some Modern Warfare tips & tricks that will have you excelling with the FR.
FR 5.56 Warzone Best Loadout
Often overlooked by other assault rifles that are available, this particular loadout will see you using the FR 5.56 on a much more regular basis throughout the course of Season 5 Reloaded.
Here are the best attachments to excel on the streets of Verdansk.
- Monolithic Suppressor (Muzzle)
- FR 24.4" Sniper (Barrel)
- Commando Foregrip (Underbarrel)
- 50 Round Mags (Ammunition)
- 4.0x Flip Hybrid (Optic)
This attachment combination dominates in mid and long-range gunfights thanks to the additional damage range provided by the monolithic suppressor and the sniper barrel.
The hybrid optic is the real party piece of this setup. Scope in and pick off enemies using the increased zoom of the scope or quickly react to a nearby threat using the second optic for a less-magnified view of the action.
FR 5.56 Best Class
Class 1 – Perfect all-rounder
Ideal for increasing the level of the FR, this attachment combination is simple yet very effective.
Attachments
- Commando Foregrip (Underbarrel)
- Recon (Perk)
- Stippled Grip Tape (Rear Grip)
- FR Ultralight Hollow (Stock)
- FR 15.9” Commando (Barrel)
There’s no need for a scope thanks to the good ironsight which frees up a slot in the Gunsmith for anything you require.
Perks
- Double Time (Perk 1)
- Ghost (Perk 2)
- Battle Hardened (Perk 3)
The speed advantage that Double Time provides is great for getting into a better position quicker, making it easier to pick off enemies in burst or single-fire mode.
Grenades
- ·Molotov Cocktail (Lethal)
- Stun Grenade (Tactical)
Molotovs are great to cut off a route or to deal a small amount of damage to an enemy, making them a sitting duck for you to take down.
Field Upgrades
- Stopping Power Rounds
Guarantee a quick kill by loading some damage-dealing rounds into the magazine.
Killstreaks
- Care Package (4 Kills)
- Cruise Missile (5 Kills)
- VTOL Jet (8 Kills)
Easily achievable and a lot of potential to score a lot of kills.
Class 2 – Quick on The Draw
With a heavy emphasis on aim down sight (ADS) speed, this is ideal for quickly reacting to any oncoming enemies.
Attachments
- Forge TAC Ultralight (Barrel)
- Stippled Grip Tape (Rear Grip)
- FFS Tac-Wrap (Stock)
- Viper Reflex Sight (Optic)
- Tac Laser (Laser)
Offering a fast ADS speed, this combination of attachments provides speed and accuracy in nearly all engagements.
Perks
- Scavenger (Perk 1)
- Hardline (Perk 2)
- Amped (Perk 3)
If you’re using this class, you’re likely to be playing aggressively so Hardline still gives you the opportunity to score the higher killstreaks while Amped gives you a quick weapon swap for situations where speed and reactions are key.
Grenades
- Frag Grenade (Lethal)
- Smoke Grenade (Tactical)
You can’t go far wrong with a frag grenade as your piece of lethal equipment and the smoke grenade has a multitude of uses depending on the situation.
Field Upgrades
- Dead Silence
The only field upgrade to navigate the map quietly and without drawing attention from the enemy.
Killstreaks
- UAV (4 Kills)
- Precision Airstrike (5 Kills)
- Emergency Airdrop (8 Kills)
The Emergency Airdrop is a risky choice on the smaller maps but if you or your teammates can get your hands on the good, it can easily turn the tide of a match.
Class 3 – Slowly but Surely
Aimed at more passive players, this setup is well-suited to longer-ranged engagements.
Attachments
· FR 24.4” Sniper (Barrel)
- Cronen C480 Pro-Optic (Optic)
- Forge TAC Ballast Pack (Stock)
- Commando Foregrip (Underbarrel)
- Granulated Grip Tape (Rear Grip)
Offering plenty of aiming stability for the long-range gunfights, these attachments are ideal for posting up and reigning fire down on the opposition.
Perks
- Cold Blooded (Perk 1)
- Pointman (Perk 2)
- Tune-Up (Perk 3)
Converting killstreaks to scorestreaks through Pointman is a great way to obtain higher streaks without getting too involved with the high-octane action.
Grenades
- Proximity Mine (Lethal)
- Gas Grenade (Tactical)
It is a personal preference in regards to the lethal equipment but a well-placed gas grenade will have you racking up the points very quickly.
Field Upgrades
- Trophy System
Protect your position from any hostile grenades with the trophy system. Using Tune Up as the third perk means you will have quick access to the field upgrade.
Killstreaks
- Shield Turret (3 Kills)
- Cluster Strike (4 Kills)
- Sentry Gun (7 Kills)
Defend your position with a shield turret and a sentry gun! Put them in close proximity to each other to deal devastating damage to the enemy.
Explore new topics and discover content that's right for you!